Follow Me On Social Media!
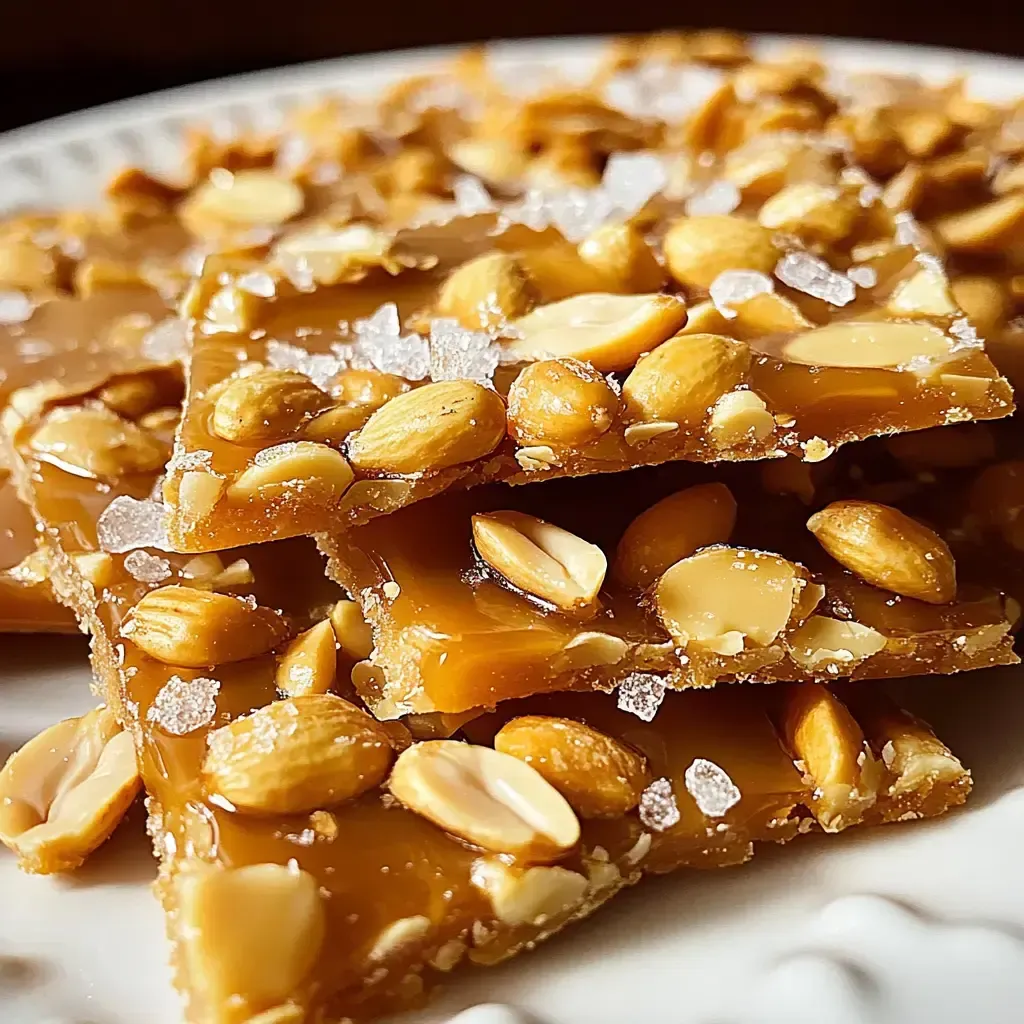
Craving that irresistible crunch of a classic sweet treat? Look no further than this recipe for Homemade Peanut Brittle! With just a handful of simple ingredients like granulated sugar, light corn syrup, raw peanuts, and a touch of vanilla extract, you can whip up a batch of this delightful candy in no time.
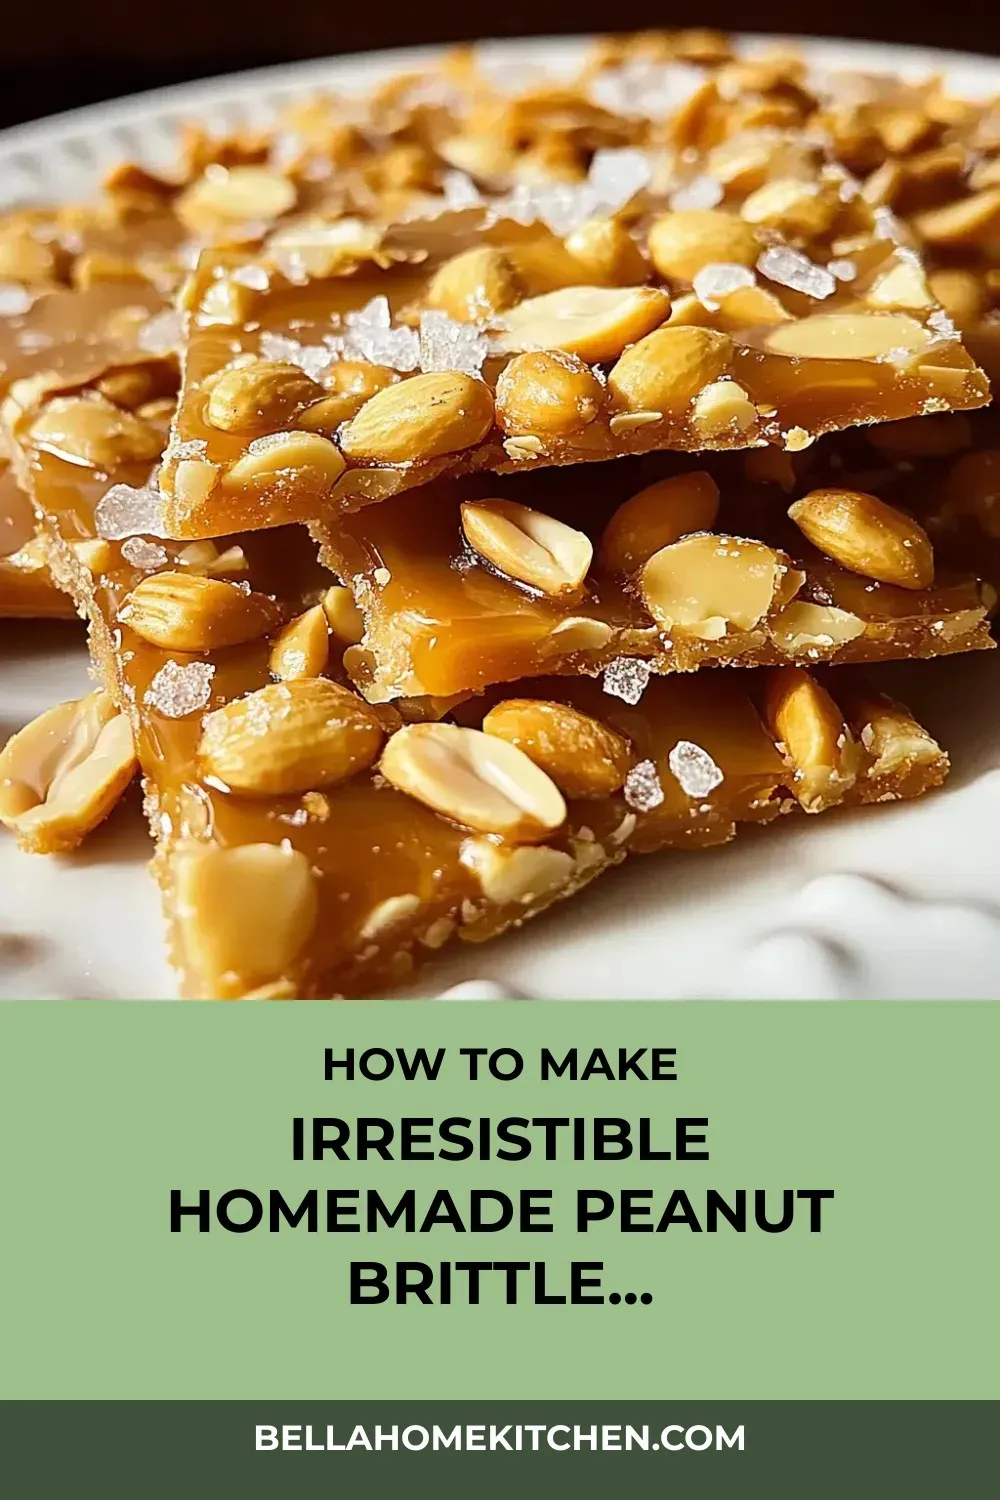
Picture your kitchen filled with the heavenly aroma of caramelizing sugar and toasting peanuts as you carefully craft this beloved confection. The magic of candy-making unfolds before your eyes, culminating in that satisfying snap when you break apart the brittle.
Don’t be daunted by the process – this recipe breaks it down into easy steps, ensuring you achieve that perfect balance of buttery sweetness and nutty crunch. Whether you stick to the classic version or get creative with custom toppings like melted chocolate or a sprinkle of sea salt, this Homemade Peanut Brittle is sure to become a go-to favorite for holidays, gifts, or simply satisfying your sweet tooth.
Quick Benefits
- Delicious Combination: Homemade peanut brittle combines buttery sweetness with roasted peanuts for a perfect crunch.
- Simple Steps: This recipe simplifies the candy-making process, breaking it down into easy-to-follow steps.
- Customizable: Get creative by using different nuts and toppings to personalize your brittle.
- Long Lasting: Store your peanut brittle in an airtight container at room temperature for up to two weeks or freeze it for up to 3 months.
Why You’ll Love This Irresistible Homemade Peanut Brittle Recipe Recipe
- You’ll love this recipe because it is a classic candy that combines buttery sweetness with roasted peanuts for the perfect crunchy texture that everyone enjoys.
- The process of making homemade peanut brittle is rewarding and magical – from watching the sugar turn perfectly amber to the satisfying crack when you break it, the experience is truly special.
- This recipe simplifies the candy-making process with clear steps, making it accessible even to beginners who might feel intimidated by making brittle.
- The addition of baking soda creates a light and airy texture that sets this peanut brittle apart, giving it a unique and delightful mouthfeel that you’ll adore.
- You can customize this recipe by using different nuts or adding toppings like melted chocolate, warm spices, or a sprinkle of flaky sea salt to elevate the flavors and make it extra special.
- Homemade peanut brittle makes for a perfect holiday gift that everyone will appreciate. It stays crispy for about two weeks in an airtight container, making it a great make-ahead treat.
- With simple ingredients like granulated sugar, light corn syrup, raw peanuts, butter, vanilla extract, and baking soda, this recipe comes together easily and the results are truly satisfying.
Ingredients for Irresistible Homemade Peanut Brittle Recipe
- 1 teaspoon baking soda.
- 2 cups raw peanuts.
- 2 tablespoons unsalted butter.
- 1/2 teaspoon salt.
- 1 teaspoon pure vanilla extract.
- 2 cups granulated sugar.
- 1 cup light corn syrup.
Pro Tips for Irresistible Homemade Peanut Brittle Recipe
Pro tip: Use a candy thermometer to ensure precise temperatures while making peanut brittle. This will help you achieve that perfect amber color and ideal texture without any guesswork.
Pro tip: Prepare all your ingredients and have them measured out before starting the cooking process. This will make the candy-making process smoother and prevent any last-minute scrambling for ingredients.
Pro tip: Get creative with your peanut brittle by experimenting with different nuts, toppings, and flavorings. Consider adding spices like cinnamon or a drizzle of melted chocolate to elevate the flavor profile and make your brittle extra special.
How to Make Irresistible Homemade Peanut Brittle Recipe
Step 1: Step 01
Prepare a baking sheet with a silicone mat or parchment paper. Measure out all ingredients and attach a candy thermometer to a heavy saucepan.
Step 2: Step 02
In a pan, combine sugar and corn syrup. Stir over medium heat until sugar dissolves and mixture begins to bubble.
Step 3: Step 03
Add raw peanuts to a 250°F pot and stir constantly until the temperature reaches 300°F to prevent burning.
Step 4: Step 04
Take the mixture off the heat and stir in butter, vanilla, and baking soda.
Step 5: Step 05
Spread the mixture onto a baking sheet and allow it to cool for 30-45 minutes.
Step 6: Step 06
Once cooled, break the cookies into pieces and store them in an airtight container.
📌 Pin for later!
Storage Tips
After making your homemade peanut brittle, allow it to cool completely before storing it. To maintain its crispy texture, store the peanut brittle in an airtight container at room temperature. The brittle will stay fresh and crunchy for up to two weeks when stored properly. If you want to extend its shelf life, you can freeze the peanut brittle for up to 3 months. Simply place parchment paper between layers to prevent them from sticking together in the freezer.
To keep your peanut brittle from becoming sticky, avoid making it on humid days as moisture can affect its texture. Whether you choose to enjoy it as a holiday treat or give it as a gift, storing your homemade peanut brittle correctly will ensure that it stays delicious and crunchy for longer. Feel free to get creative with toppings like melted chocolate, warm spices, or flaky sea salt to add extra flavor and make your peanut brittle even more special.
Ingredient Substitutions
If you need to make substitutions for this homemade peanut brittle recipe, there are a few options available. For the raw peanuts, you can swap them out with other nuts like almonds, pecans, or cashews for a different flavor profile. Just ensure the nuts are unsalted and raw to allow them to roast in the syrup properly. Additionally, if you prefer to use a different sweetener instead of light corn syrup, you can try using honey or maple syrup as a substitute. Keep in mind that this may slightly alter the taste and texture of the brittle, so adjust accordingly.
For those looking to make a vegan version of this peanut brittle, you can replace the unsalted butter with a plant-based alternative like vegan butter or coconut oil. This swap will still provide the necessary fat for the recipe while keeping it dairy-free. Similarly, if you need to omit the baking soda, you can try using baking powder in half the amount as a replacement. However, note that this may affect the final texture slightly, so be prepared for a potential difference in the finished product.
Serving Suggestions
Serve your homemade peanut brittle as a delightful topping for a scoop of creamy vanilla ice cream. The contrast of the crunchy brittle against the cold, smooth ice cream creates a heavenly dessert experience. Add a drizzle of warm chocolate sauce and a sprinkle of sea salt on top for an extra decadent touch.
For a festive holiday treat, create a peanut brittle bark by melting some dark chocolate and spreading it on a baking sheet. Break your peanut brittle into small pieces and press them into the chocolate. Chill until set, then cut into squares for a beautiful and delicious holiday treat. This indulgent bark makes a lovely homemade gift or a special addition to your holiday dessert spread.
FAQs for Irresistible Homemade Peanut Brittle Recipe
Can I use roasted peanuts instead of raw peanuts?
It’s best to use raw peanuts for this recipe since they will roast right in the hot syrup, enhancing their flavor. Roasted peanuts may become too crunchy or even burn during the cooking process.
Do I really need a candy thermometer to make this peanut brittle?
While it’s possible to make peanut brittle without a candy thermometer, using one ensures precise temperature control which is crucial for the success of this recipe. It eliminates the guesswork and helps you achieve the perfect texture.
How long does it take for the peanut brittle to cool and harden?
Once you pour the hot mixture onto the prepared baking sheet, it will cool and harden within 30-60 minutes. You can speed up the process by placing the baking sheet in the refrigerator for quicker results.
Can I store the peanut brittle for later consumption?
Absolutely! Your peanut brittle will stay crispy for about two weeks when stored in an airtight container at room temperature. For longer storage, you can freeze it for up to 3 months. Just make sure to place parchment paper between layers to prevent sticking.
Conclusion
Homemade Peanut Brittle is truly a delightful treat to make, and each batch brings so much joy and satisfaction. The process of creating this classic candy is not only rewarding but also a wonderful way to share homemade goodness with loved ones. The aroma of caramelizing sugar and toasting peanuts will fill your kitchen, creating a cozy and heartwarming atmosphere.
Whether you are a seasoned candy maker or trying your hand at brittle for the first time, this recipe simplifies the process with easy-to-follow steps. The addition of baking soda is the secret ingredient that gives this brittle its signature light and airy texture, making each bite a delightful experience. Experiment with different nuts, spices, or toppings to customize your Homemade Peanut Brittle and make it truly your own.
So, gather your ingredients, channel your inner chef, and embark on a delicious journey of creating your very own batch of Homemade Peanut Brittle. The crackle as you break it into pieces and the sweet crunch of each bite will surely bring a smile to your face. Enjoy the process, savor the flavors, and share the love with those around you. Happy brittle-making!
📌 Pin for later!
Irresistible Homemade Peanut Brittle Recipe
“Perfect your holiday gift game with this foolproof Homemade Peanut Brittle recipe, boasting a satisfying crunch and irresistible caramelized aroma.”
Prep Time5 Minutes
Cook Time20 Minutes
Total Time25 Minutes
CuisineAmerican
Skill LevelDifficult
Servings16 Servings (1 batch)
Ingredients
- 1 teaspoon baking soda.
- 2 cups raw peanuts.
- 2 tablespoons unsalted butter.
- 1/2 teaspoon salt.
- 1 teaspoon pure vanilla extract.
- 2 cups granulated sugar.
- 1 cup light corn syrup.
Instructions
-
Step 01: Prepare a baking sheet with a silicone mat or parchment paper. Measure out all ingredients and attach a candy thermometer to a heavy saucepan.
-
Step 02: In a pan, combine sugar and corn syrup. Stir over medium heat until sugar dissolves and mixture begins to bubble.
-
Step 03: Add raw peanuts to a 250°F pot and stir constantly until the temperature reaches 300°F to prevent burning.
-
Step 04: Take the mixture off the heat and stir in butter, vanilla, and baking soda.
-
Step 05: Spread the mixture onto a baking sheet and allow it to cool for 30-45 minutes.
-
Step 06: Once cooled, break the cookies into pieces and store them in an airtight container.