Follow Me On Social Media!
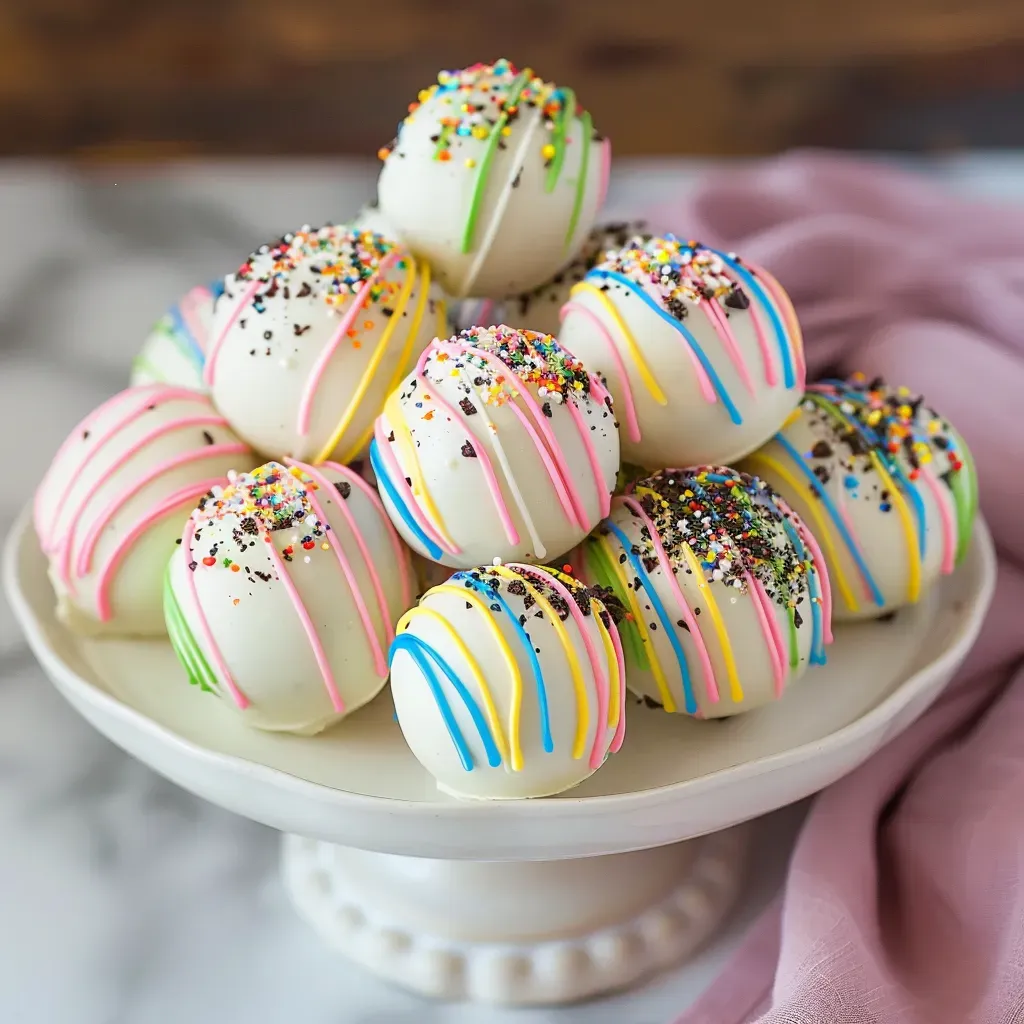
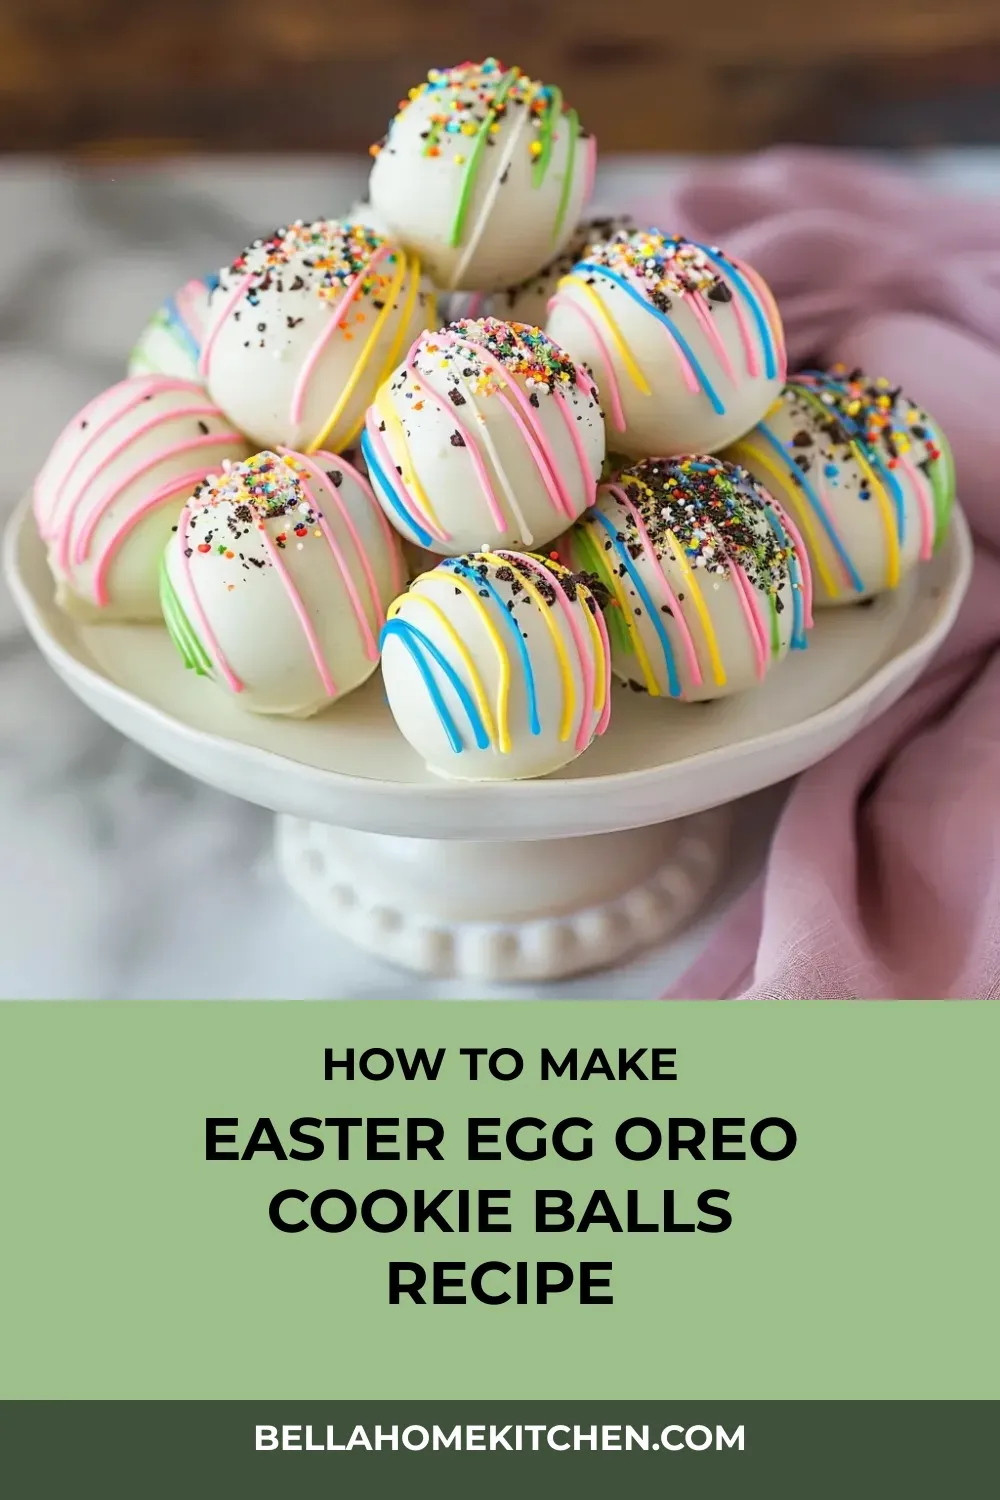
Indulge in the delightful charm of Easter with these whimsical Easter Egg Oreo Cookie Balls! A delightful twist on classic Golden Oreos, these treats are a festive addition to your holiday spread. The recipe is a delightful blend of crushed Oreos and creamy cream cheese, shaped into eggs, and coated in white candy goodness. The real magic happens in the decorating, where each egg becomes a canvas for your creativity, making them the perfect hands-on activity for the kids during the Easter festivities.
As you embark on creating these Easter Egg Oreo Cookie Balls, you’ll discover the joy that comes with each uniquely decorated egg. There’s something special about the process – from shaping the eggs to dipping them in candy coating and adding colorful designs. It’s not just a recipe; it’s a tradition in the making, a sweet way to bond with loved ones in the kitchen, creating lasting memories and delicious treats all at once. So, gather your ingredients, unleash your creativity, and let these Easter Egg Oreo Cookie Balls take center stage at your holiday celebrations.
Quick Benefits
- No baking required – perfect for getting kids involved
- Allows endless creativity in decorating
- Makes enough to share with friends and family
- Can be prepared ahead for Easter gatherings
Why You’ll Love This Easter Egg Oreo Cookie Balls Recipe Recipe
- Perfect for Easter celebrations or spring gatherings, these Easter Egg Oreo Cookie Balls are visually appealing and delicious, capturing the joy of the season.
- Kid-friendly recipe with no baking required, making it a fun and interactive activity for the whole family.
- Allows for endless creativity in decorating, making each egg unique and festive.
- Can be made ahead of time for convenience, ideal for preparing for Easter gatherings or parties.
- The recipe tips ensure professional-looking results, making it easy to achieve picture-perfect treats.
- Chilling the shaped eggs before dipping makes the coating process easier and smoother.
- Versatile decoration options using gel food colors and contrasting drizzles with a fork for professional designs.
- The simplicity and joy these treats bring make them a cherished part of Easter traditions, creating precious memories in the kitchen.
Ingredients for Easter Egg Oreo Cookie Balls Recipe
Base
- 14.3 oz package (36 cookies) Golden Oreos, crushed into crumbs
- 8 oz cream cheese, room temperature
Coating
- Gel icing colors
- Additional 1 oz white candy coating per color for decorating
- 10 oz white candy coating
Pro Tips for Easter Egg Oreo Cookie Balls Recipe
For the Easter Egg Oreo Cookie Balls, it’s important to ensure your cream cheese is completely softened for a smooth mixing process. This will help achieve a creamy and uniform texture for shaping the eggs. Additionally, using high-quality white candy coating is crucial for a smooth finish on the eggs, enhancing their visual appeal. Remember to work in small batches when dipping the eggs to maintain the coating at the right temperature for the best results.
To simplify the decorating process and ensure professional-looking designs, have all your decorating supplies ready before starting. Using a fork to drizzle contrasting colors can create beautiful and intricate designs on the eggs. It’s also helpful to keep a toothpick nearby to pop any air bubbles in the coating. Chilling the shaped eggs in the freezer for 15 minutes before dipping can make the coating process much easier. By following these pro tips, you can create stunning and delicious Easter treats that will impress your friends and family.
How to Make Easter Egg Oreo Cookie Balls Recipe
Step 1: Step 01
Use a food processor or blender to crush Golden Oreos into crumbs. Mix the crumbs thoroughly with room temperature cream cheese.
Step 2: Step 02
Shape mixture into egg shapes using approximately 1 1/2 tablespoons per egg. Chill in the refrigerator for 1 hour to set.
Step 3: Step 03
Melt 10 oz white candy coating. Dip chilled eggs into coating using a toothpick inserted in the bottom. Shake off excess, place on parchment paper, remove toothpick, and fill hole with coating.
Step 4: Step 04
After drying, melt 1 oz of white candy coating for each desired color. Mix in gel coloring to achieve the desired colors. Drizzle or pipe the colored coating over the eggs in decorative patterns.
📌 Pin for later!
Storage Tips
Once you have created your Easter Egg Oreo Cookie Balls, you can store them in the refrigerator for up to 3 days. Place them in an airtight container or on a plate covered with plastic wrap to prevent them from drying out. Make sure the eggs are chilled between steps and keep them refrigerated until you are ready to serve them.
If you need to prepare the shaped eggs ahead of time, you can store them in the freezer for longer-term storage. After shaping the eggs, place them on a baking sheet lined with parchment paper and freeze them until firm. Once frozen, transfer the eggs to a freezer-safe container or resealable plastic bag. When you’re ready to enjoy them, simply thaw the eggs in the refrigerator overnight before coating and decorating them.
To maintain the quality of your Easter Egg Oreo Cookie Balls, avoid leaving them at room temperature for extended periods, as the cream cheese filling can soften. If you plan to transport or gift them, keep them chilled with ice packs or in a cooler. By following these storage tips, you can ensure that your festive and delicious treats stay fresh and ready to delight your guests during Easter celebrations or spring gatherings.
Ingredient Substitutions
If you don’t have Golden Oreos on hand, you can substitute them with regular Oreos or any other similar sandwich cookies. The flavor profile might vary slightly, but the end result will still be delicious. For a different twist, you could also try using graham crackers or another type of cookie crumbs mixed with a little vanilla extract.
If you prefer not to use white candy coating, you can substitute it with white chocolate or candy melts. Just make sure to adjust the melting process and consistency as needed. Additionally, if you want to avoid artificial food coloring, you can explore natural food coloring options such as beet powder, turmeric, or matcha powder to tint the candy coating for decorating. This can add a unique touch and natural hues to your Easter Egg Oreo Cookie Balls.
Serving Suggestions
Serve these Easter Egg Oreo Cookie Balls on a decorative platter, arranged in a visually appealing pattern to showcase the colorful designs. Add a sprinkle of edible glitter or small candy decorations around the eggs for an extra festive touch. For a fun twist, serve them nestled in edible Easter grass or coconut flakes to create a whimsical spring-themed presentation.
Create a DIY decorating station for a interactive experience – set out bowls of different colored candy coatings, gel icing colors, and small decorating tools for guests to personalize their own Easter Egg Oreo Cookie Balls. This not only adds a fun element to your gathering but also allows everyone to showcase their creativity and take home a unique edible creation.
FAQs for Easter Egg Oreo Cookie Balls Recipe
Can I use regular Oreos instead of Golden Oreos for this recipe?
While Golden Oreos are recommended for their vanilla flavor, you can certainly use regular Oreos if that’s what you have on hand. The taste will be slightly different, but the recipe will still work.
How far in advance can I make these Easter Egg Oreo Cookie Balls?
You can shape the eggs up to 3 days ahead and store them in the refrigerator. However, it’s best to coat and decorate them on the day you plan to serve to maintain the freshness and texture of the treats.
Can I use liquid food coloring instead of gel icing colors for decorating?
It’s recommended to use gel icing colors for decorating as they provide vibrant colors without thinning the candy coating. Liquid food coloring may alter the consistency of the coating, so it’s best to stick with gel colors for best results.
How do I prevent air bubbles in the candy coating when decorating the Easter Egg Oreo Cookie Balls?
To prevent air bubbles in the coating, keep a toothpick handy while decorating. If you notice any air bubbles forming, gently pop them with the toothpick to ensure a smooth finish on your decorated eggs.
Conclusion
As you embark on making these delightful Easter Egg Oreo Cookie Balls, remember that the true magic lies in the process itself – creating memories in the kitchen, celebrating the holiday spirit, and indulging in the joy of decorating these charming treats. The versatility of this recipe allows for endless creativity, making each egg a unique masterpiece perfect for sharing with loved ones.
Whether you’re a seasoned baker or just starting out, these Easter Egg Oreo Cookie Balls are a wonderful way to add a touch of sweetness to your Easter celebrations. So gather your ingredients, get creative with your decorations, and enjoy the process of making these adorable treats that are sure to bring smiles to everyone’s faces. Happy baking, and may your Easter be filled with love, joy, and delicious Easter Egg Oreo Cookie Balls!
📌 Pin for later!
Easter Egg Oreo Cookie Balls Recipe
“Transform Golden Oreos into festive Easter Egg Cookie Balls, perfect for creating stunning spring-themed treats with endless decorating possibilities.”
Prep Time180 Minutes
Cook Time~ undefined
Total Time180 Minutes
CuisineAmerican
Skill LevelIntermediate
Servings22 Servings (20-22 eggs)
Ingredients
Base
- 14.3 oz package (36 cookies) Golden Oreos, crushed into crumbs
- 8 oz cream cheese, room temperature
Coating
- Gel icing colors
- Additional 1 oz white candy coating per color for decorating
- 10 oz white candy coating
Instructions
-
Step 01: Use a food processor or blender to crush Golden Oreos into crumbs. Mix the crumbs thoroughly with room temperature cream cheese.
-
Step 02: Shape mixture into egg shapes using approximately 1 1/2 tablespoons per egg. Chill in the refrigerator for 1 hour to set.
-
Step 03: Melt 10 oz white candy coating. Dip chilled eggs into coating using a toothpick inserted in the bottom. Shake off excess, place on parchment paper, remove toothpick, and fill hole with coating.
-
Step 04: After drying, melt 1 oz of white candy coating for each desired color. Mix in gel coloring to achieve the desired colors. Drizzle or pipe the colored coating over the eggs in decorative patterns.