Follow Me On Social Media!
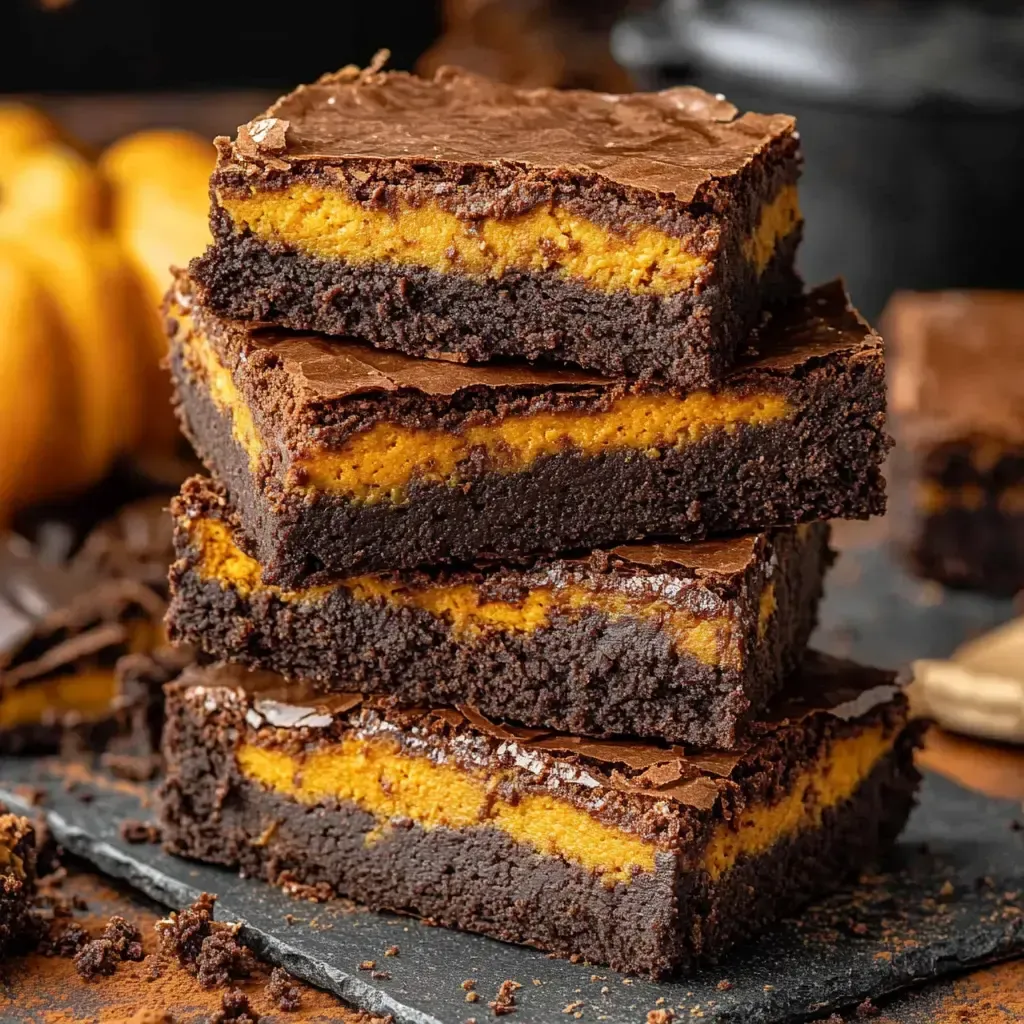
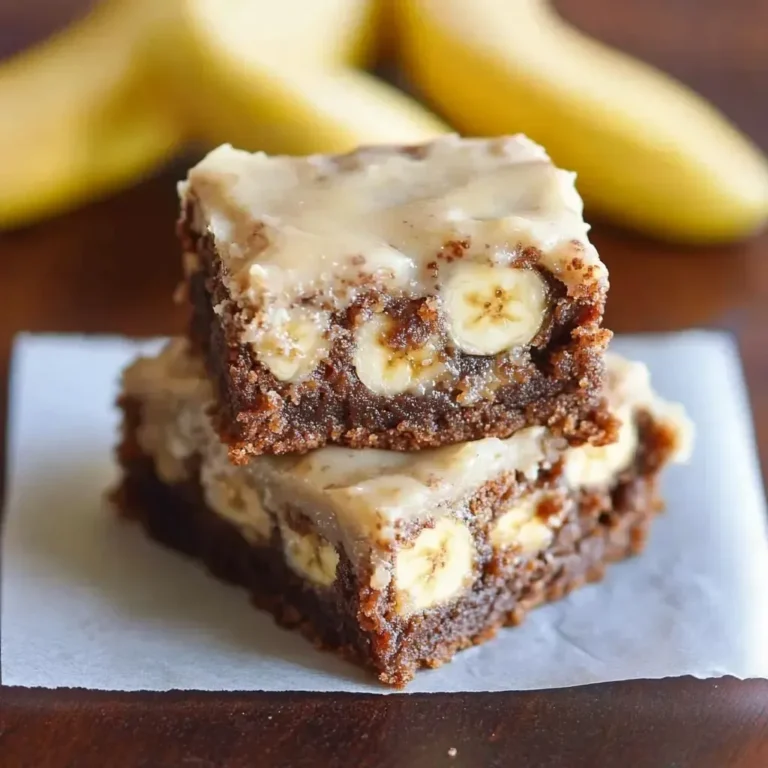
Craving a taste of fall? Look no further than these indulgent Pumpkin Brownies! The perfect combination of rich chocolate and creamy pumpkin, these brownies are a showstopper that will have everyone coming back for more. Whether you’re looking for a cozy treat on a chilly afternoon or a dessert to impress at your next gathering, these brownies are sure to hit the spot.
The magic of these Pumpkin Brownies lies in the contrast between the fudgy chocolate layers and the smooth, spiced pumpkin filling. Simple to make yet undeniably decadent, these brownies strike the perfect balance between familiar flavors and a touch of seasonal flair. With a freezing trick that ensures clean, professional-looking cuts, these brownies are as pleasing to the eye as they are to the palate. So, why not whip up a batch of these delightful Pumpkin Brownies and bring a taste of autumn into your home today?
Quick Benefits
- Perfect combination of rich chocolate decadence and warm fall spices
- Impressive and professional-looking dessert for any occasion
- Freezes well for up to three months, great for make-ahead treats
- Easy to customize with nuts, chocolate chips, or caramel drizzle
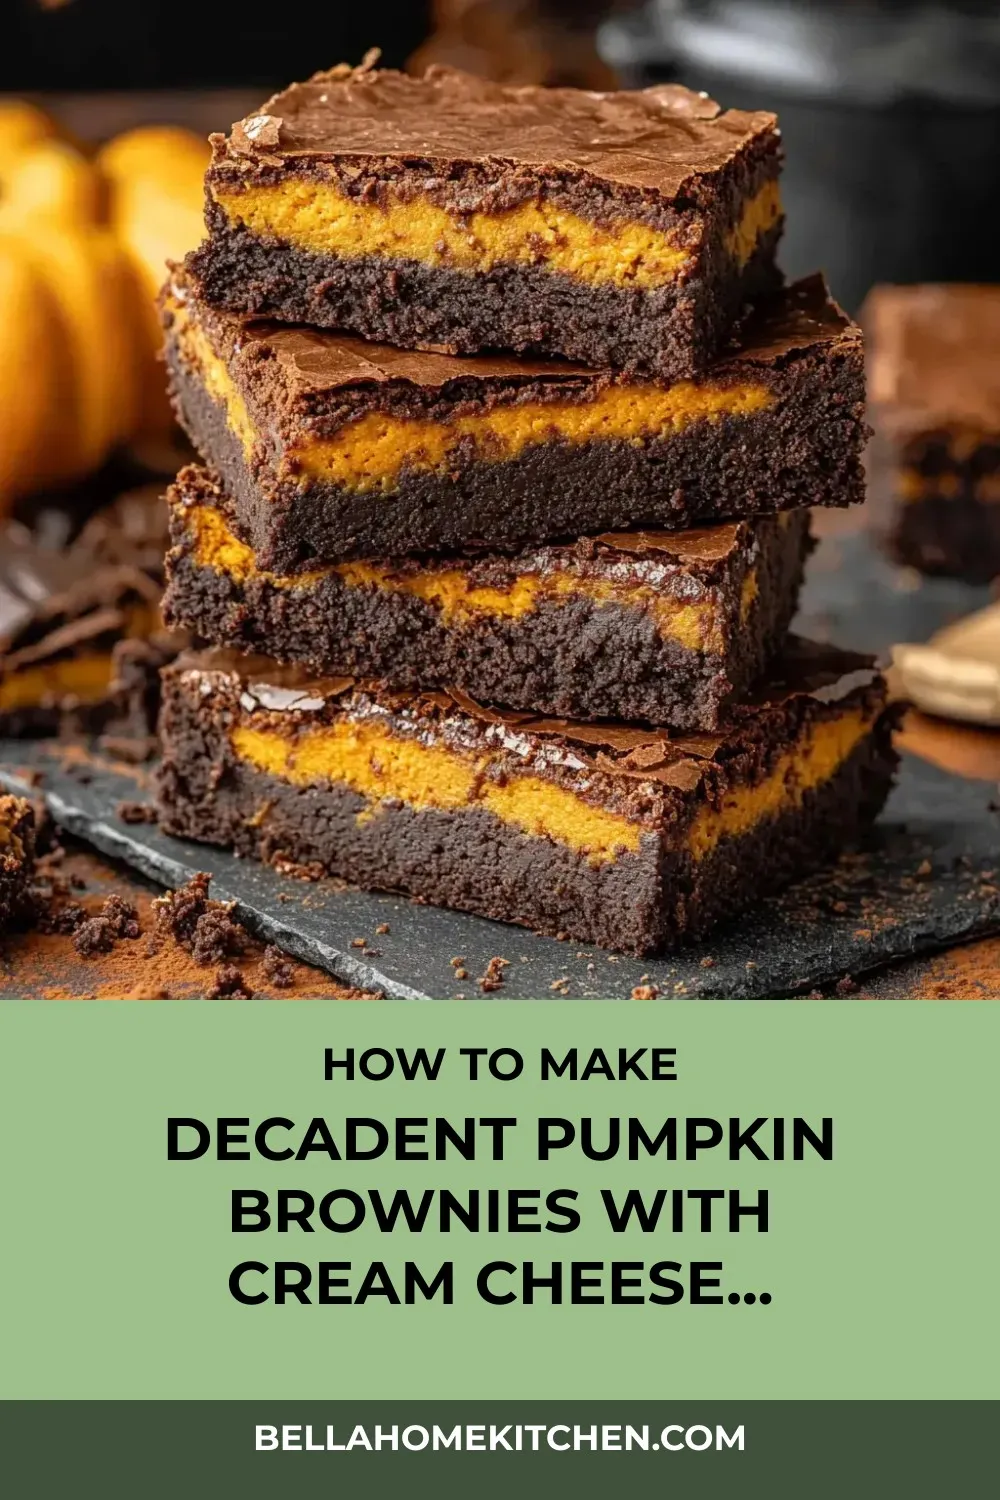
Why You’ll Love This Decadent Pumpkin Brownies with Cream Cheese Swirl Recipe
- *Why You’ll Love This Pumpkin Brownie Recipe:**
- Perfect Combination of Flavors: The fudgy chocolate layers and creamy spiced pumpkin filling create a harmonious blend of rich, decadent chocolate and warm fall spices in every bite.
- Impressive Presentation: These layered brownies look like they came from a fancy bakery, making them an ideal dessert to impress guests at gatherings or parties.
- Easy to Make: Despite their sophisticated appearance, these brownies are surprisingly simple to prepare, making them a great choice for cozy gatherings or indulgent afternoon treats.
- Make-ahead and Freezer-friendly: These brownies can be made ahead of time and stored in the fridge for several days or frozen for up to three months, allowing for easy meal prep or saving some for later enjoyment.
- Versatile Customization: You can customize these brownies by adding nuts, chocolate chips, or a caramel drizzle to make them your own unique creation.
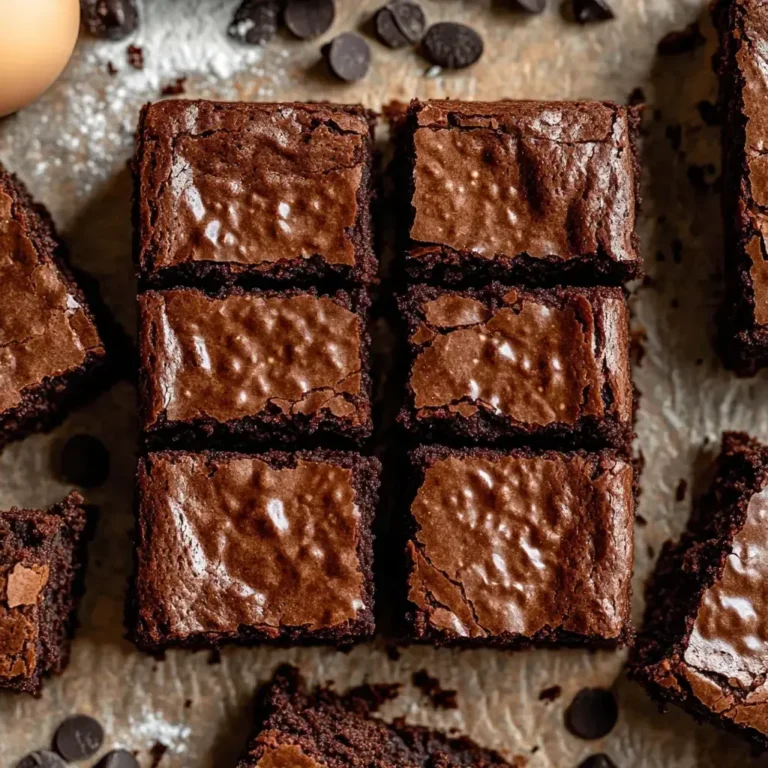
- Tips for Perfect Results: Tips such as using quality chocolate, ensuring the pumpkin layer is frozen solid, and slightly underbaking for a fudgy texture guarantee that you’ll achieve the best possible results when making these brownies.
Ingredients for Decadent Pumpkin Brownies with Cream Cheese Swirl
- 170g dark chocolate.
- 215g pumpkin puree.
- 200g granulated sugar.
- 226g cream cheese.
- 4 eggs, room temperature.
- 45g Dutch cocoa powder.
- 60g powdered sugar.
- 1/2 teaspoon salt.
- 120g all-purpose flour.
- 1/2 teaspoon pumpkin spice (optional).
- 150g brown sugar.
- 170g unsalted butter.
Pro Tips for Decadent Pumpkin Brownies with Cream Cheese Swirl
Pro Tip 1: Use high-quality dark chocolate for the best flavor in your pumpkin brownies. The richness of the chocolate will elevate the entire dessert.
Pro Tip 2: Ensure that the pumpkin layer is completely frozen before assembling the brownies. This step is crucial for clean and neat cuts, giving your brownies a polished and professional look.
Pro Tip 3: When cutting the brownies, warm your knife for a perfect slice. Additionally, remember that slightly underbaking the brownies results in a fudgier texture, which is preferred over overbaking for that gooey, decadent bite.
How to Make Decadent Pumpkin Brownies with Cream Cheese Swirl
Step 1: Step 01
Combine pumpkin, cream cheese, sugar, and spices.
Step 2: Step 02
Line a pan and spread mixture evenly; freeze for 1 hour.
Step 3: Step 03
Preheat oven to 175°C/350°F.
Step 4: Step 04
Combine melted chocolate and butter.
Step 5: Step 05
Beat eggs and sugars until light and fluffy, about 5-7 minutes.
Step 6: Step 06
Gradually combine the melted chocolate mixture with the eggs and sugar.
Step 7: Step 07
Gently mix in cocoa powder, flour, and salt.
Step 8: Step 08
Transfer half of the brownie batter into the pan.
Step 9: Step 09
Gently position the frozen pumpkin layer over the brownie batter.
Step 10: Step 10
Spread the remaining brownie batter over the pumpkin layer.
Step 11: Step 11
Cook in the oven set to the specified temperature for 45 minutes.
Step 12: Step 12
Allow to cool completely before slicing and serving.
📌 Pin for later!
Storage Tips
After making these delectable pumpkin brownies, it’s important to store them properly to maintain their freshness and flavor. Once cooled, store the brownies in an airtight container in the refrigerator. They will stay beautifully moist and delicious for several days if stored in this way. If you plan to enjoy them later, these brownies freeze exceptionally well. Simply wrap individual portions or the entire pan tightly in plastic wrap and aluminum foil before placing them in the freezer. They can be frozen for up to three months without compromising their taste or texture.
To ensure neat and clean cuts when slicing the brownies, it’s recommended to allow the pumpkin layer to freeze completely before assembling and cutting. When ready to cut the brownies, warm your knife slightly for smoother and more precise squares. Remember that slightly underbaked brownies are better than overbaked ones for that perfect fudgy texture. By following these storage and cutting tips, you can enjoy these pumpkin brownies at their best, whether serving them at a gathering or savoring them as a special treat.
Ingredient Substitutions
For potential ingredient substitutions in this pumpkin brownie recipe, you can experiment with different types of chocolate based on your preference. You could try semi-sweet or milk chocolate for a milder flavor. If you’re looking to make a healthier version, consider using coconut oil instead of butter, or a plant-based butter alternative for a vegan-friendly option.
In place of cream cheese, you might substitute mascarpone cheese for a richer taste or Greek yogurt for a lighter option. You can also swap the pumpkin puree for mashed sweet potatoes or butternut squash for a similar fall flavor profile. Additionally, if you don’t have pumpkin spice on hand, you could use a combination of cinnamon, nutmeg, and cloves to achieve a similar warm and cozy taste. Remember to adjust the quantities based on your personal taste preferences when making these substitutions.
Serving Suggestions
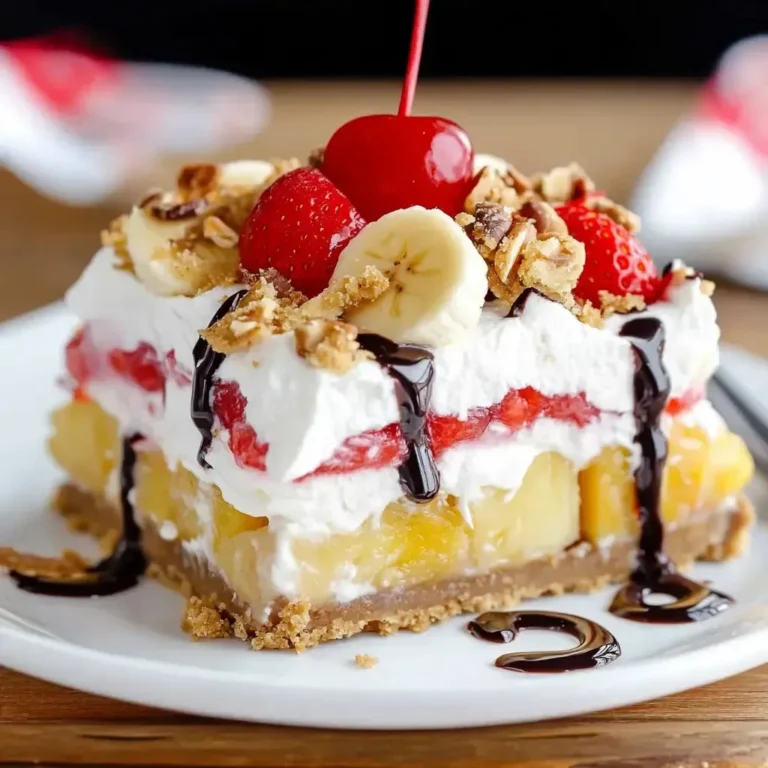
For a stunning presentation, serve these pumpkin brownies topped with a dollop of freshly whipped cream and a sprinkle of pumpkin spice. The creamy texture of the pumpkin layer paired with the rich fudgy brownie is a delightful contrast that will have your guests coming back for seconds. To take it up a notch, drizzle some warm caramel sauce over each brownie before serving for an indulgent touch that elevates the flavors even more.
For a fun twist, cut these pumpkin brownies into bite-sized squares and serve them on skewers for a tasty and elegant dessert option at your next fall gathering. You can even dip the skewered brownies in melted chocolate and sprinkle crushed nuts on top for a festive and decadent treat that is sure to impress your guests. These pumpkin brownie skewers are perfect for parties, potlucks, or even as a sweet afternoon snack with a cup of hot apple cider.
FAQs for Decadent Pumpkin Brownies with Cream Cheese Swirl
Can I use milk chocolate instead of dark chocolate for this recipe?
It’s recommended to use dark chocolate for its rich flavor, but you can substitute with milk chocolate if you prefer a sweeter taste.
Can I omit the pumpkin spice from the recipe?
Yes, you can omit the pumpkin spice if you prefer. It will alter the flavor profile slightly but still result in delicious pumpkin brownies.
How long can I store these pumpkin brownies?
These pumpkin brownies stay beautiful in the fridge for several days. They can also be frozen for up to three months, ensuring you can enjoy them later.
Why is it important to warm the knife before cutting the brownies?
Warming the knife helps in achieving clean and neat cuts when slicing the brownies. It prevents the layers from sticking and ensures you get perfect squares.
Conclusion
As you embark on your culinary journey to create these delectable Pumpkin Brownies, remember that the key ingredient is love. Let the warmth of the fall spices and the richness of the chocolate infuse your kitchen with cozy vibes and create memories that will last a lifetime. Whether you’re baking for a special occasion or just to treat yourself, these brownies are sure to delight your taste buds and bring joy to those around you.
So go ahead, gather your ingredients, preheat your oven, and let the aroma of Pumpkin Brownies fill your home with comfort and happiness. Embrace the magic of the season with every bite, savoring the perfect blend of flavors and textures that make these brownies a true autumn delight. From the first step of melting chocolate to the final touch of cutting into squares, enjoy every moment of creating these pumpkin-infused treats. Happy baking, and may your Pumpkin Brownies bring warmth and joy to all who indulge in them!
📌 Pin for later!
Decadent Pumpkin Brownies with Cream Cheese Swirl
Indulge in the decadent fusion of rich chocolate brownies and creamy spiced pumpkin with these show-stopping, fudgy Pumpkin Brownies.
Prep Time25 Minutes
Cook Time45 Minutes
Total Time70 Minutes
CuisineAmerican
Skill LevelDifficult
Servings9 Servings (1 pan)
Ingredients
- 170g dark chocolate.
- 215g pumpkin puree.
- 200g granulated sugar.
- 226g cream cheese.
- 4 eggs, room temperature.
- 45g Dutch cocoa powder.
- 60g powdered sugar.
- 1/2 teaspoon salt.
- 120g all-purpose flour.
- 1/2 teaspoon pumpkin spice (optional).
- 150g brown sugar.
- 170g unsalted butter.
Instructions
-
Step 01: Combine pumpkin, cream cheese, sugar, and spices.
-
Step 02: Line a pan and spread mixture evenly; freeze for 1 hour.
-
Step 03: Preheat oven to 175°C/350°F.
-
Step 04: Combine melted chocolate and butter.
-
Step 05: Beat eggs and sugars until light and fluffy, about 5-7 minutes.
-
Step 06: Gradually combine the melted chocolate mixture with the eggs and sugar.
-
Step 07: Gently mix in cocoa powder, flour, and salt.
-
Step 08: Transfer half of the brownie batter into the pan.
-
Step 09: Gently position the frozen pumpkin layer over the brownie batter.
-
Step 10: Spread the remaining brownie batter over the pumpkin layer.
-
Step 11: Cook in the oven set to the specified temperature for 45 minutes.
-
Step 12: Allow to cool completely before slicing and serving.