Follow Me On Social Media!
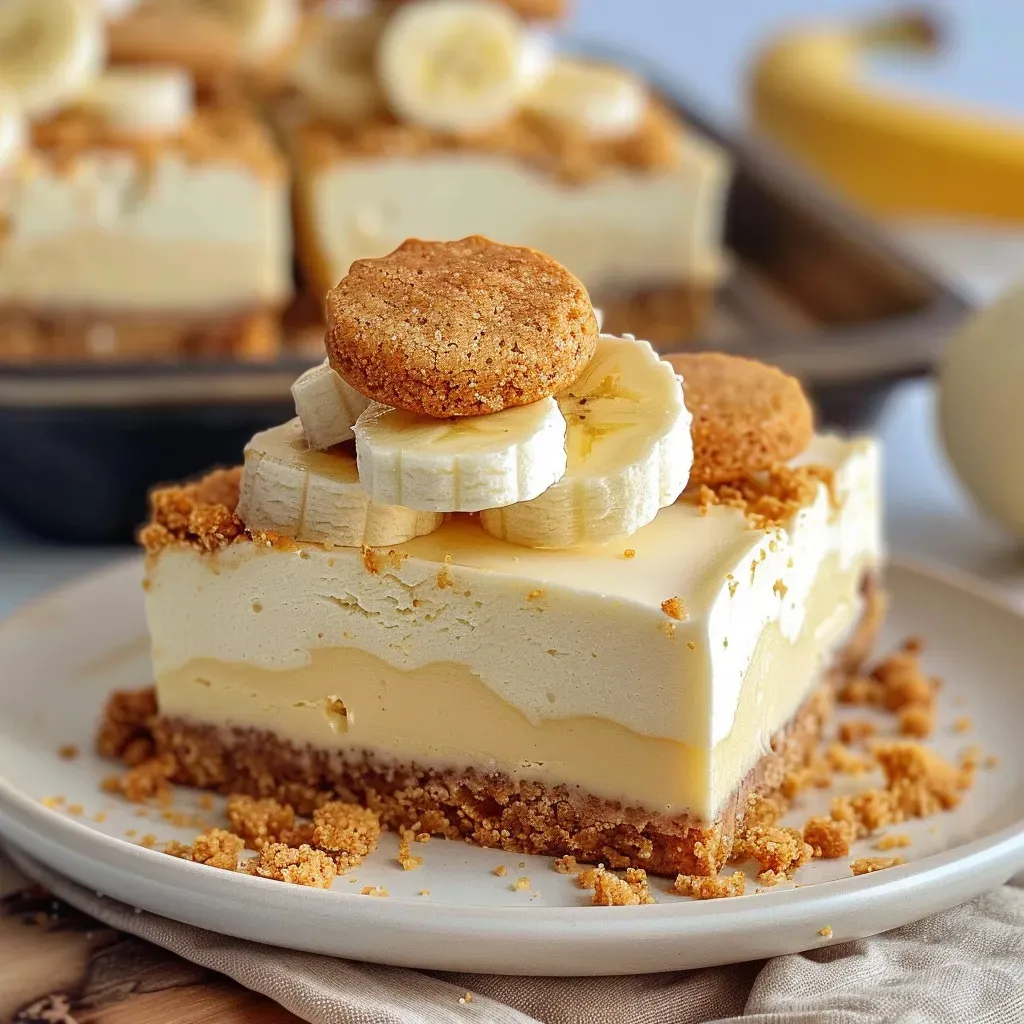
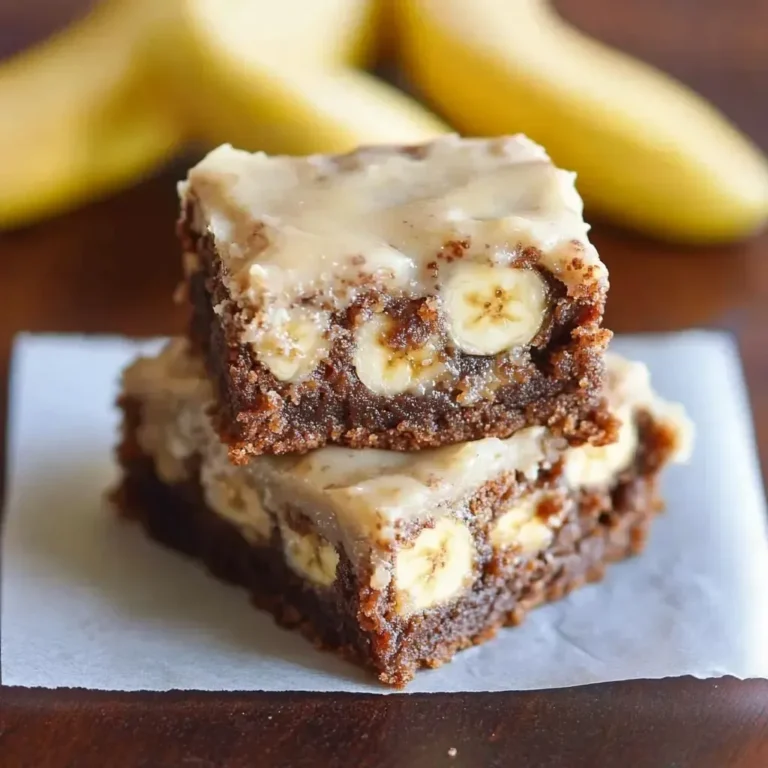
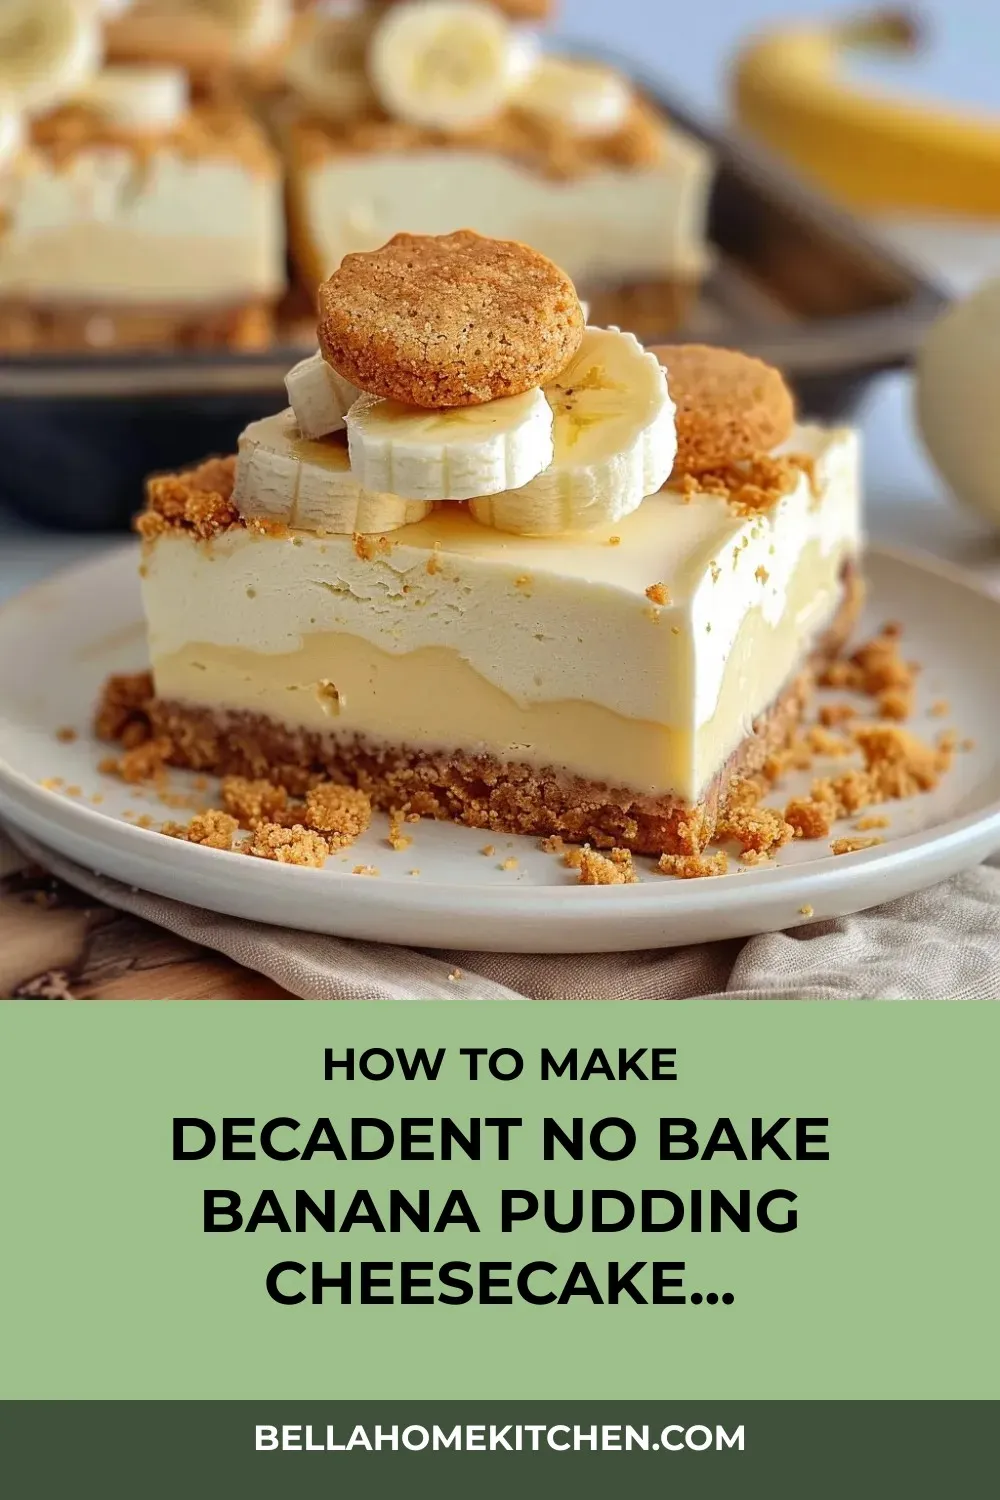
Indulge in the delightful fusion of two classic desserts with these No Bake Banana Pudding Cheesecake Bars. Combining the beloved flavors of banana pudding with the creamy richness of cheesecake, this no-bake treat is a true crowd-pleaser. The buttery vanilla wafer crust sets the stage for a luscious filling that marries cream cheese, banana pudding mix, and a touch of sour cream for that authentic banana taste. After a few hours of chilling, these bars slice up perfectly and are best enjoyed topped with fresh banana slices and a dollop of whipped cream for the ultimate dessert experience.
The harmony of creamy richness and nostalgic banana flavor in these Banana Pudding Cheesecake Bars will transport you to warm summer gatherings and cherished family celebrations. The buttery crust provides a satisfying crunch against the smooth filling, while the cream cheese adds a subtle tang that perfectly balances the sweetness of the banana pudding. Whether you’re hosting a summer barbecue or simply craving a sweet treat without the oven, these bars offer a decadent yet refreshing indulgence. So go ahead, whip up a batch of these delightful bars and savor the blissful blend of flavors in every bite!
Quick Benefits
- A delightful fusion of creamy cheesecake and nostalgic banana pudding flavors
- Perfect dessert for hot summer days without needing to turn on the oven
- Make-ahead convenience for stress-free entertaining
- Appeals to a wide range of palates with the balance of sweet banana pudding and tangy cream cheese
Why You’ll Love This Decadent No Bake Banana Pudding Cheesecake Bars Recipe
- The perfect harmony of creamy richness and nostalgic banana flavor in every bite will transport you to summer gatherings and family celebrations.
- The buttery vanilla wafer crust provides a delightful contrast to the silky-smooth filling, creating a truly decadent treat.
- These bars are a no-bake delight, perfect for hot summer days when you crave a sweet treat without heating up the kitchen.
- Make-ahead convenience allows you to prepare them in advance, giving the flavors time to develop while you focus on other preparations.
- Combining the creamy decadence of cheesecake with the beloved flavor of banana pudding, these bars offer a nostalgic yet elevated dessert experience.
- These bars are a crowd-pleaser, disappearing faster than any other dessert at gatherings, even earning compliments from those who typically avoid sweets.
- The recipe tips provided ensure a foolproof outcome, from using quality ingredients like Philadelphia cream cheese to mastering the balance between cream cheese and banana pudding.
- Garnishing options and customization allow you to make these bars your own while maintaining the essence of the dessert.
- These bars beautifully blend culinary traditions, combining classic Southern banana pudding with the New York-style cheesecake, offering a unique twist on beloved desserts.
- Sharing these bars evokes joy not just from their delicious flavor but from witnessing the delight on people’s faces as they taste a childhood favorite transformed into a sophisticated treat.
Ingredients for Decadent No Bake Banana Pudding Cheesecake Bars
For the crust
- 1½ cups (180g) Nilla wafer crumbs (about 50 cookies)
- 3 tablespoons light brown sugar
- 6 tablespoons (85g) unsalted butter, melted
For the cheesecake filling
- 1 cup (240ml) heavy whipping cream
- ¼ cup (57g) sour cream
- 16 ounces cream cheese (two 8-ounce bricks), at room temperature
- ½ cup (100g) granulated sugar
- 1 teaspoon vanilla extract
- 3.4 ounces banana pudding mix (one small box)
For garnish
- Fresh banana slices
- Whipped cream
- Whole Nilla wafers
Pro Tips for Decadent No Bake Banana Pudding Cheesecake Bars
To ensure the perfect creamy texture, remember to let all refrigerated ingredients, especially the cream cheese, come to room temperature before mixing. This step helps in achieving a smooth filling without any lumps.
For a more intense banana flavor without being overly sweet, stick to the recommended amount of instant banana pudding mix. Using the instant variety is key for the recipe’s no-bake application, providing the dessert with the authentic taste of banana pudding.
For the ultimate no-bake dessert experience, plan ahead and allow the bars to chill for at least 8 hours. This time allows the flavors to meld and the bars to set properly for easy slicing. Adding garnishes like fresh banana slices and whipped cream just before serving ensures a fresh and appealing presentation.
How to Make Decadent No Bake Banana Pudding Cheesecake Bars
Step 1: Step 01
Prepare an 8-inch square baking pan by greasing it or lining it with parchment paper, allowing some overhang for easy removal of the bars.
Step 2: Step 02
Crush Nilla wafers in a food processor until fine crumbs form. Add brown sugar and melted butter, pulse until mixture resembles wet sand.
Step 3: Step 03
Transfer the crumb mixture into the pan and press it firmly with a flat-bottomed measuring cup to create a solid and compact base for the cheesecake.
Step 4: Step 04
Chill the crust in the freezer for 20 minutes or in the refrigerator for 30-40 minutes to firm up before making the cheesecake filling.
Step 5: Step 05
In a large bowl, use a hand mixer or stand mixer with the paddle attachment to beat softened cream cheese and granulated sugar on medium speed until smooth and creamy, about 2 minutes. Scrape down the sides and bottom of the bowl to remove any lumps.
Step 6: Step 06
Mix in the sour cream and vanilla extract until fully combined with the cream cheese mixture. Be careful not to overmix.
Step 7: Step 07
Combine heavy whipping cream and banana pudding mix in a small bowl or measuring cup until the pudding powder dissolves and thickens.
Step 8: Step 08
Add the pudding mixture to the cream cheese mixture in three parts, beating well after each addition until fully combined to create a smooth filling without lumps.
Step 9: Step 09
Pour the cheesecake filling over the chilled crust, smooth the top, cover with plastic wrap, and refrigerate for at least 8 hours or overnight until set.
Step 10: Step 10
Slice the chilled cheesecake into bars before serving. Top each piece with fresh banana slices, whipped cream, and a whole Nilla wafer.
📌 Pin for later!
Storage Tips
Once you have prepared the No Bake Banana Pudding Cheesecake Bars, it is essential to store them properly for optimal taste and texture. After the bars have set in the refrigerator for at least 8 hours, cover the baking dish or individual bars tightly with plastic wrap or aluminum foil to prevent them from absorbing any other flavors in the fridge. This step also helps maintain the freshness of the bars and prevents them from drying out.
When storing the Banana Pudding Cheesecake Bars in the refrigerator, be sure to place them on a flat surface to maintain their shape. You can keep them in the original baking dish or transfer them to an airtight container. It’s best to consume the bars within 3-4 days of making them to enjoy their peak flavor and texture. If you plan to serve them later, remember to add the fresh banana slices, whipped cream, and any other garnishes just before serving to keep them looking and tasting their best.
For longer storage, you can freeze individual bars by wrapping them tightly in plastic wrap and placing them in a freezer-safe container. Thaw the bars overnight in the refrigerator before serving. Freezing may slightly alter the texture, but the flavors will remain intact. These make-ahead bars are perfect for preparing in advance for gatherings, allowing you to enjoy a delicious dessert with minimal effort on the day of serving.
Ingredient Substitutions
If you need to make ingredient substitutions for the No Bake Banana Pudding Cheesecake Bars, here are some tips to help you out. For the cream cheese, ensure you use full-fat, block-style cream cheese like the Philadelphia brand for the right consistency and flavor. When it comes to the banana pudding mix, opt for a well-known brand like Jell-O for consistent results and a more pronounced banana flavor. For the vanilla wafers, while Nilla wafers provide an authentic taste, you can use any crisp vanilla cookie as a substitute.
If you don’t have heavy whipping cream, you can use whipped topping as an alternative. Just make sure it has a similar fat content for the best texture. Additionally, if you prefer a different crust, you can experiment with using graham crackers or even chocolate cookies for a unique twist. Remember to adjust the sweetness level accordingly when substituting ingredients to maintain the balance of flavors in the dessert.
Serving Suggestions
For a fun and elegant presentation, consider slicing these No Bake Banana Pudding Cheesecake Bars into bite-sized squares and garnishing each with a fresh banana slice on top. Serve them on a decorative platter for a party or gathering, allowing guests to easily grab a delectable piece of this delightful dessert.
To create a show-stopping dessert display, arrange the sliced Banana Pudding Cheesecake Bars on a tiered serving tray, alternating with whole Nilla wafers for added visual appeal. Drizzle a caramel or chocolate sauce over the top layer of bars and sprinkle some crushed Nilla wafers and a dusting of cinnamon for a finishing touch that will impress your guests and elevate the overall presentation.
FAQs for Decadent No Bake Banana Pudding Cheesecake Bars
Can I use a different type of cookie for the crust?
Yes, you can use any crisp vanilla cookie for the crust if you don’t have Nilla wafers on hand. However, traditional Nilla wafers provide the most authentic flavor profile for this recipe.
Can I substitute light cream cheese for the full-fat cream cheese?
It’s best to use full-fat, block-style cream cheese in this recipe for the proper consistency and flavor. Light cream cheese may alter the texture and richness of the cheesecake filling.
How long do I need to chill these bars before serving?
These bars should be chilled for at least 8 hours to set up properly. For best results, it’s recommended to chill them for a full 24 hours to allow the flavors to fully develop and meld together.
Can I freeze these Banana Pudding Cheesecake Bars?
While these bars are best enjoyed fresh, you can freeze them for up to 2-3 months. Make sure to wrap them tightly in plastic wrap and aluminum foil before freezing. Thaw the bars overnight in the refrigerator before serving.
Conclusion
As you wrap up your culinary adventure with these delightful No Bake Banana Pudding Cheesecake Bars, I hope you’ve enjoyed the journey of blending the classic flavors of banana pudding and creamy cheesecake into one harmonious dessert. The ease of preparation and the luscious result make these bars a standout choice for any gathering or a cozy night in.
Remember, the key to perfecting these bars lies in patience and attention to detail. From ensuring your ingredients are at the right temperature to allowing ample chilling time, each step contributes to the decadent final product. So, take your time, savor the process, and get ready to indulge in the creamy, dreamy goodness of these No Bake Banana Pudding Cheesecake Bars.
Whether you’re hosting a summer soirée or simply treating yourself to a sweet delight, these bars are sure to impress with their nostalgic charm and irresistible flavor. So go ahead, whip up another batch of these No Bake Banana Pudding Cheesecake Bars, share them with your loved ones, and revel in the joy of creating memorable moments around a truly delicious dessert.
📌 Pin for later!
Decadent No Bake Banana Pudding Cheesecake Bars
Indulge in the nostalgic bliss of No Bake Banana Pudding Cheesecake Bars that blend creamy cheesecake with the beloved flavors of banana pudding.
Prep Time25 Minutes
Cook Time~ undefined
Total Time25 Minutes
CuisineAmerican
Skill LevelEasy
Servings12 Servings
Ingredients
For the crust
- 1½ cups (180g) Nilla wafer crumbs (about 50 cookies)
- 3 tablespoons light brown sugar
- 6 tablespoons (85g) unsalted butter, melted
For the cheesecake filling
- 1 cup (240ml) heavy whipping cream
- ¼ cup (57g) sour cream
- 16 ounces cream cheese (two 8-ounce bricks), at room temperature
- ½ cup (100g) granulated sugar
- 1 teaspoon vanilla extract
- 3.4 ounces banana pudding mix (one small box)
For garnish
- Fresh banana slices
- Whipped cream
- Whole Nilla wafers
Instructions
-
Step 01: Prepare an 8-inch square baking pan by greasing it or lining it with parchment paper, allowing some overhang for easy removal of the bars.
-
Step 02: Crush Nilla wafers in a food processor until fine crumbs form. Add brown sugar and melted butter, pulse until mixture resembles wet sand.
-
Step 03: Transfer the crumb mixture into the pan and press it firmly with a flat-bottomed measuring cup to create a solid and compact base for the cheesecake.
-
Step 04: Chill the crust in the freezer for 20 minutes or in the refrigerator for 30-40 minutes to firm up before making the cheesecake filling.
-
Step 05: In a large bowl, use a hand mixer or stand mixer with the paddle attachment to beat softened cream cheese and granulated sugar on medium speed until smooth and creamy, about 2 minutes. Scrape down the sides and bottom of the bowl to remove any lumps.
-
Step 06: Mix in the sour cream and vanilla extract until fully combined with the cream cheese mixture. Be careful not to overmix.
-
Step 07: Combine heavy whipping cream and banana pudding mix in a small bowl or measuring cup until the pudding powder dissolves and thickens.
-
Step 08: Add the pudding mixture to the cream cheese mixture in three parts, beating well after each addition until fully combined to create a smooth filling without lumps.
-
Step 09: Pour the cheesecake filling over the chilled crust, smooth the top, cover with plastic wrap, and refrigerate for at least 8 hours or overnight until set.
-
Step 10: Slice the chilled cheesecake into bars before serving. Top each piece with fresh banana slices, whipped cream, and a whole Nilla wafer.