Follow Me On Social Media!
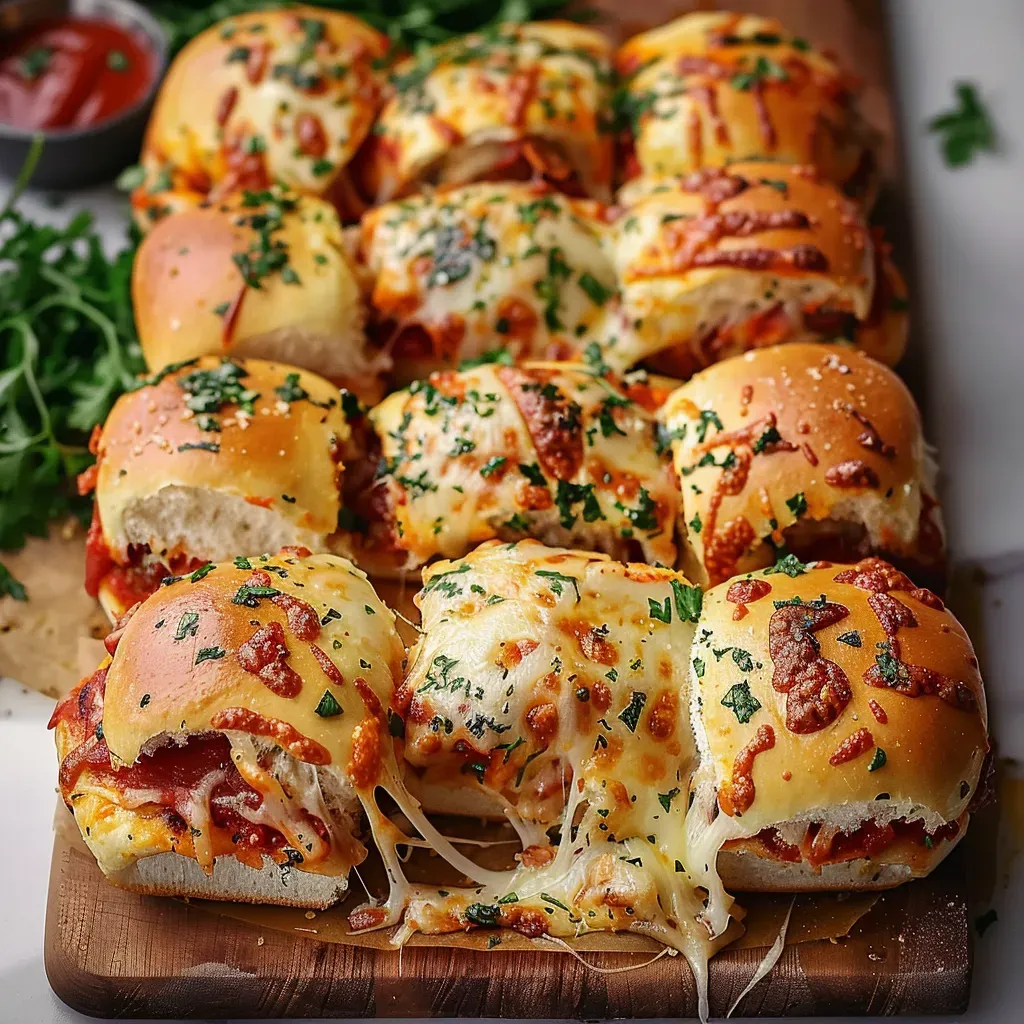
Craving a fun twist on classic pizza? Look no further than these delectable Pizza Sliders! These mouthwatering sliders take the beloved flavors of pizza and pack them into convenient, handheld Hawaiian sweet rolls. Picture layers of gooey mozzarella, zesty pepperoni, and savory Italian sausage, all nestled between sweet rolls that bake to perfection. Topped with a savory garlic butter mixture and a sprinkle of Parmesan, these sliders are a guaranteed hit at any gathering.
The magic of these Pizza Sliders lies in the thoughtful assembly of ingredients and the careful baking process. As they bake, the cheese melts to gooey perfection, and the tops turn a golden brown, promising a delightful mix of textures and flavors in every bite. Whether you’re hosting a party, cheering on your favorite team, or simply looking for a delicious meal idea, these sliders are sure to steal the show. So, gather your ingredients, fire up the oven, and get ready to enjoy a taste of pizza heaven in a whole new way with these irresistible Pizza Sliders.
Quick Benefits
- Perfect blend of sweetness and savory thanks to Hawaiian sweet rolls
- Incredibly adaptable with customizable toppings
- Make-ahead friendly for easy party prep
- Irresistible garlic butter topping that elevates the sliders
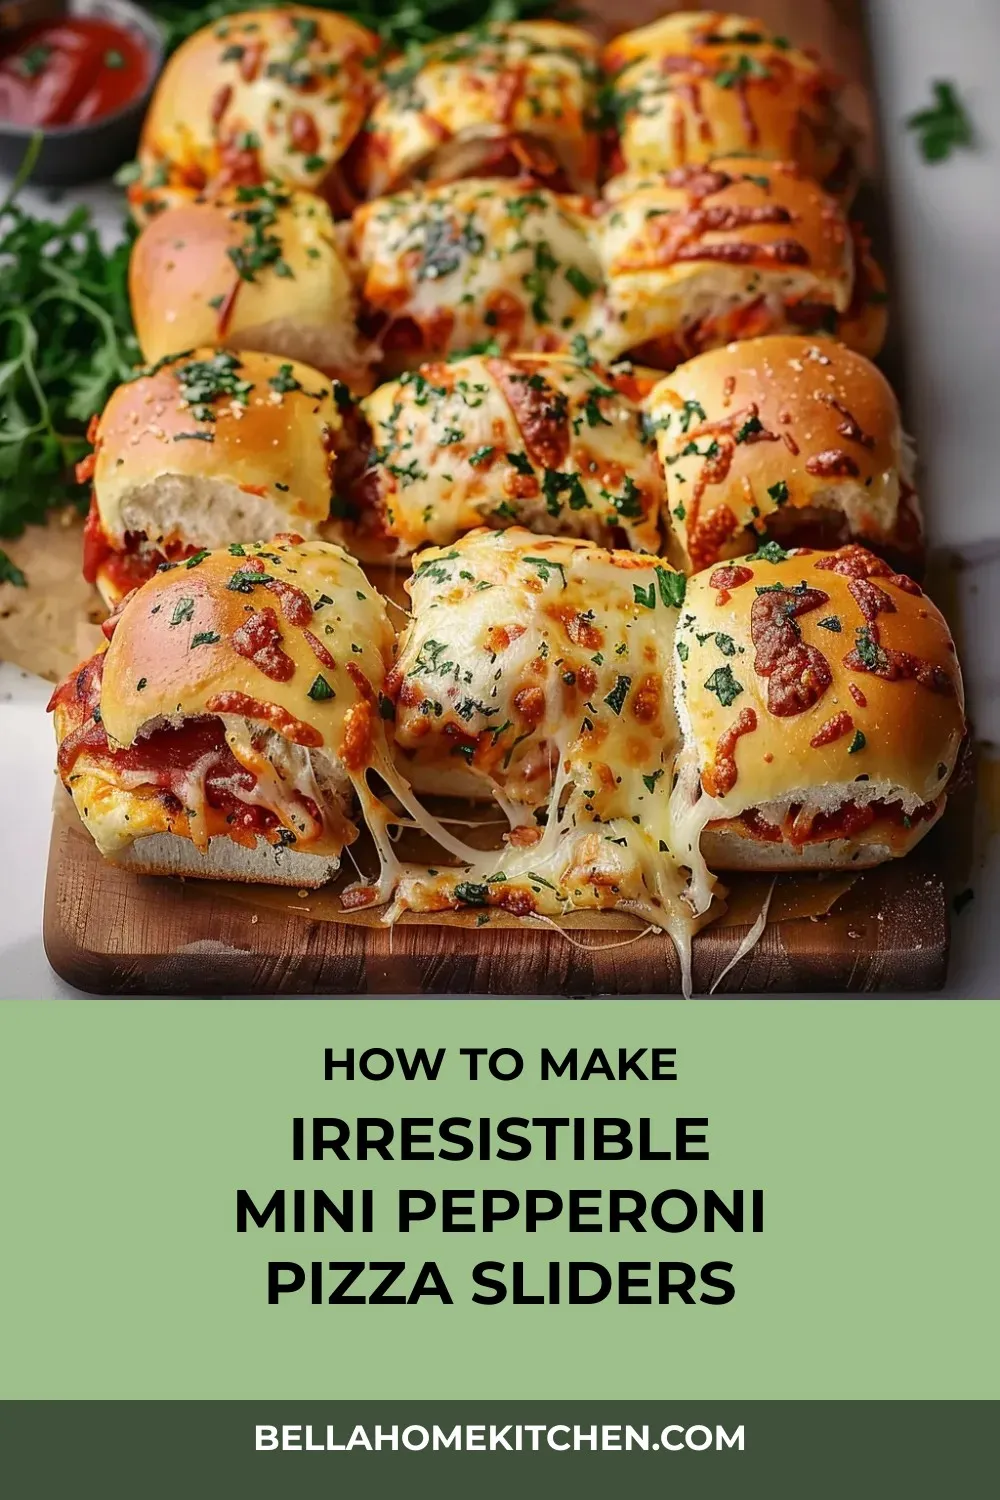
Why You’ll Love This Irresistible Mini Pepperoni Pizza Sliders Recipe
- Irresistible Combination of Pizza Flavors: Layers of pizza sauce, melted mozzarella, pepperoni, and Italian sausage nestled in sweet Hawaiian rolls offer the classic pizza taste in a convenient slider form.
- Aromatic Garlic Butter Topping: The savory garlic butter topping enriched with Parmesan cheese and Italian seasonings elevates the sliders, creating a golden-brown, crispy exterior with a gooey, cheesy interior that promises a burst of flavors with every bite.
- Perfect Blend of Sweetness and Savory: The soft Hawaiian rolls provide a sweet contrast to the savory pizza toppings, resulting in a harmonious blend of flavors that will tantalize your taste buds.
- Customizable and Adaptable: Easily customize the sliders with your favorite pizza toppings to cater to individual preferences, making them a versatile and crowd-pleasing party snack.
- Convenient Make-Ahead Option: Assemble the sliders in advance, refrigerate, and bake when needed, making them a stress-free option for entertaining guests or feeding a hungry crowd.
- Pro Tips for Perfect Results: Expert tips such as grating your own mozzarella for superior melting, using high-quality pizza sauce, and ensuring the cheese melts completely with the right baking techniques guarantee a delicious outcome every time.
- Nostalgic and Heartwarming: The aroma of garlic butter and melted cheese filling your kitchen will evoke memories of your favorite pizzeria, creating a heartwarming and comforting experience that brings people together over a shared love for good food.
Ingredients for Irresistible Mini Pepperoni Pizza Sliders
Base
- 12 Hawaiian sweet rolls (kept connected)
- 6 ounces Italian sausage
- 24 pepperoni slices
Cheese and Sauce
- 3 tablespoons freshly grated Parmesan cheese
- 1 cup pizza sauce or marinara sauce, divided, plus extra for serving
- 2 cups shredded mozzarella cheese, divided
Garlic Butter Topping
- 1/2 teaspoon Italian seasoning
- 1 tablespoon finely chopped fresh parsley
- Dash of crushed red pepper flakes
- 1/4 cup salted butter, melted
- 1/2 teaspoon garlic powder
Pro Tips for Irresistible Mini Pepperoni Pizza Sliders
For the perfect Pizza Sliders, keep the Hawaiian sweet rolls connected when slicing to balance the savory fillings with their sweetness. Grate your mozzarella cheese from a block for superior melting, avoiding pre-shredded cheese with anti-caking agents. Choose a thicker pizza sauce to prevent soggy bottoms, whether homemade or high-quality store-bought, to elevate the flavors.
To streamline your cooking process, assemble the sliders up to 4 hours ahead and refrigerate before brushing with the warm garlic butter topping just before baking. Remember to start covered to ensure complete cheese melting and uncover for the final 5 minutes for that perfect golden top. Additionally, let the sliders rest for a few minutes after baking to allow the cheese to set slightly, preventing it from oozing out when cutting. These pro tips will guarantee delicious, crowd-pleasing results every time you make these sliders for your next gathering or family meal.
How to Make Irresistible Mini Pepperoni Pizza Sliders
Step 1: Step 01
1. Preheat oven to 350°F. Line a 9×13 baking dish with parchment paper or foil, then spray with cooking spray. Cook Italian sausage in a skillet until cooked through, then drain excess fat.
Step 2: Step 02
Slice the whole block of rolls horizontally with a serrated knife, ensuring they remain attached. Transfer the bottom half into the pan.
Step 3: Step 03
Evenly spread ½ cup pizza sauce on the bottom layer. Add 1 cup mozzarella, pepperoni slices, and cooked sausage. Finish with the remaining cheese on top.
Step 4: Step 04
Spread the remaining ½ cup of sauce on the cut side of the top layer of bread. Place it on top of the cheese to form a large sandwich.
Step 5: Step 05
Combine melted butter, Parmesan cheese, garlic powder, Italian seasoning, and red pepper flakes. Brush mixture over the tops of the rolls and sprinkle with parsley.
Step 6: Step 06
Wrap with foil and bake for 15-20 minutes until cheese is melted. Uncover and bake for an additional 5 minutes until tops are golden brown. Slice, serve with extra sauce for dipping.
📌 Pin for later!
Storage Tips
To store the finished Pizza Sliders, allow any leftovers to cool completely before transferring them to an airtight container. Refrigerate the sliders for up to 3 days to maintain their freshness. When ready to enjoy them again, reheat the sliders in a 350°F oven wrapped in foil until they are warmed through and the cheese is melty again. This method helps preserve the texture and flavors of the sliders while ensuring they are heated evenly.
Properly storing the Pizza Sliders will help maintain their delicious taste and texture for later consumption. By following these storage instructions, you can enjoy the sliders for a few days after they are baked, making them a convenient and tasty option for quick meals or snacks. With the right storage technique, you can savor the flavors of these handheld pizza delights even after the initial serving, allowing you to enjoy them at your own pace.
Ingredient Substitutions
For potential ingredient substitutions in these Pizza Sliders, you can customize the toppings to suit your preferences. Feel free to swap out the Italian sausage for cooked ground beef, turkey, or even plant-based meat alternatives for a different flavor profile. You can also experiment with different types of cheese such as cheddar, provolone, or a blend of cheeses to add your own twist to the sliders while still achieving that gooey, cheesy goodness.
If you’re looking to make these Pizza Sliders vegetarian-friendly, consider replacing the Italian sausage and pepperoni with sautéed mushrooms, sliced bell peppers, onions, or any other favorite pizza toppings. This allows you to cater to different dietary preferences without compromising on the delicious flavors and textures of the sliders. Additionally, for a spicier kick, you can add jalapeños or red pepper flakes to the filling mixture to elevate the heat level and add a new dimension of flavor to the sliders. These substitutions offer versatility and creativity in making these sliders your own signature dish.
Serving Suggestions
To elevate your Pizza Sliders even further, try serving them alongside a variety of dipping sauces, such as creamy ranch, tangy marinara, or spicy sriracha mayo. The combination of these flavorful sauces with the cheesy, meaty sliders will take your taste buds on a delicious journey. Additionally, consider adding a side of garlic-parmesan fries or a fresh garden salad tossed in a balsamic vinaigrette to create a well-rounded and satisfying meal. The play of textures and flavors will make your Pizza Sliders experience a memorable and enjoyable one for all your guests.
For a fun and interactive serving suggestion, turn your Pizza Sliders into a build-your-own slider bar. Set out bowls of extra toppings like sliced olives, diced bell peppers, caramelized onions, and fresh basil leaves, allowing your guests to customize their sliders to their liking. This DIY approach not only adds a festive and personal touch to your gathering but also ensures that everyone gets to enjoy their favorite pizza flavors in a unique and exciting way. Don’t forget to provide plenty of napkins and a variety of refreshing beverages to complete the ultimate Pizza Slider bar experience.
FAQs for Irresistible Mini Pepperoni Pizza Sliders
Can I customize the toppings on these Pizza Sliders?
Absolutely! These sliders are incredibly adaptable, so feel free to customize them with your favorite pizza toppings like bell peppers, onions, mushrooms, or olives to suit your taste.
Can I make these Pizza Sliders ahead of time?
Yes, you can assemble these sliders up to 4 hours ahead of time. Keep them refrigerated until you’re ready to bake. Just remember to brush them with the garlic butter topping just before baking. You may need to add a few extra minutes to the covered baking time if starting with cold sliders.
How should I store leftovers of these Pizza Sliders?
Store any leftovers in an airtight container for up to 3 days in the refrigerator. When reheating, wrap the sliders in foil and warm them in a 350°F oven until they are heated through and the cheese is melty again.
What is the key to achieving the perfect golden top on these Pizza Sliders?
Start by covering the sliders during baking to allow the cheese to melt completely. Uncover them for the final 5 minutes to achieve that perfect golden top. If they are browning too quickly, you can tent them loosely with foil to prevent over-browning.
Conclusion
As you prepare to make these delectable Pizza Sliders, remember that the key to their irresistible charm lies in the balance of flavors and the meticulous attention to detail in each layer. The soft sweetness of the Hawaiian rolls, the gooey richness of the melted mozzarella, and the savory notes of the Italian sausage and pepperoni all combine harmoniously to create a handheld delight that will surely impress your guests. Don’t hesitate to customize them with your favorite toppings for a personal touch that reflects your unique taste.
When you take your first bite of these Pizza Sliders, you’ll experience a burst of familiar pizza flavors wrapped in a new and exciting package. The warmth of the garlic butter topping, the golden crust of the rolls, and the stringy stretch of melted cheese all come together to create a dish that is not just food but a celebration of shared moments and joyful gatherings. So go ahead, gather your loved ones, bake up a batch of these Pizza Sliders, and watch as they disappear in a flurry of smiles and satisfied tummies. Enjoy the process, savor the flavors, and let the magic of Pizza Sliders bring joy to your table.
📌 Pin for later!
Irresistible Mini Pepperoni Pizza Sliders
Transform Hawaiian sweet rolls into irresistible pizza sliders, packed with layers of sauce, cheese, pepperoni, and sausage, topped with garlic butter and baked to perfection.
Prep Time10 Minutes
Cook Time25 Minutes
Total Time35 Minutes
CuisineAmerican
Skill LevelEasy
Servings12 Servings (12 sliders)
Ingredients
Base
- 12 Hawaiian sweet rolls (kept connected)
- 6 ounces Italian sausage
- 24 pepperoni slices
Cheese and Sauce
- 3 tablespoons freshly grated Parmesan cheese
- 1 cup pizza sauce or marinara sauce, divided, plus extra for serving
- 2 cups shredded mozzarella cheese, divided
Garlic Butter Topping
- 1/2 teaspoon Italian seasoning
- 1 tablespoon finely chopped fresh parsley
- Dash of crushed red pepper flakes
- 1/4 cup salted butter, melted
- 1/2 teaspoon garlic powder
Instructions
-
Step 01: 1. Preheat oven to 350°F. Line a 9×13 baking dish with parchment paper or foil, then spray with cooking spray. Cook Italian sausage in a skillet until cooked through, then drain excess fat.
-
Step 02: Slice the whole block of rolls horizontally with a serrated knife, ensuring they remain attached. Transfer the bottom half into the pan.
-
Step 03: Evenly spread ½ cup pizza sauce on the bottom layer. Add 1 cup mozzarella, pepperoni slices, and cooked sausage. Finish with the remaining cheese on top.
-
Step 04: Spread the remaining ½ cup of sauce on the cut side of the top layer of bread. Place it on top of the cheese to form a large sandwich.
-
Step 05: Combine melted butter, Parmesan cheese, garlic powder, Italian seasoning, and red pepper flakes. Brush mixture over the tops of the rolls and sprinkle with parsley.
-
Step 06: Wrap with foil and bake for 15-20 minutes until cheese is melted. Uncover and bake for an additional 5 minutes until tops are golden brown. Slice, serve with extra sauce for dipping.