Follow Me On Social Media!
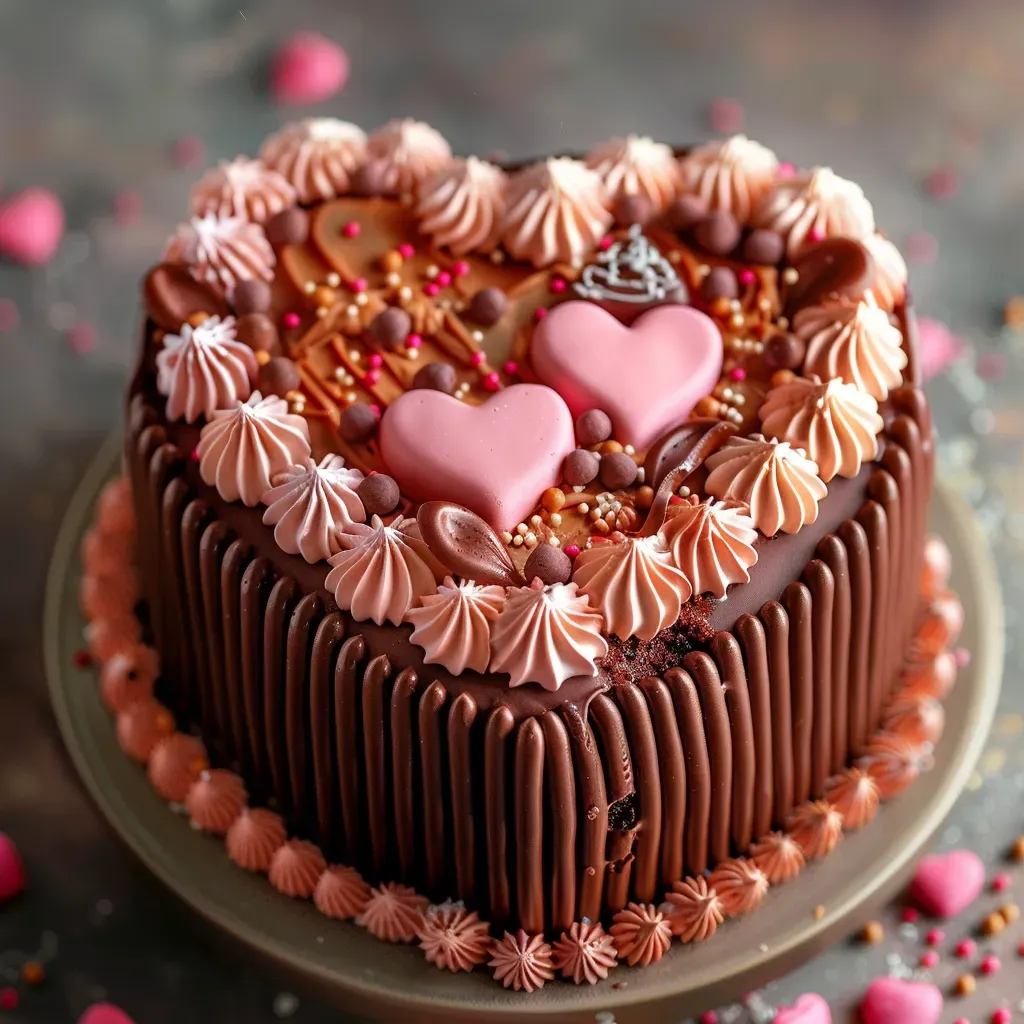
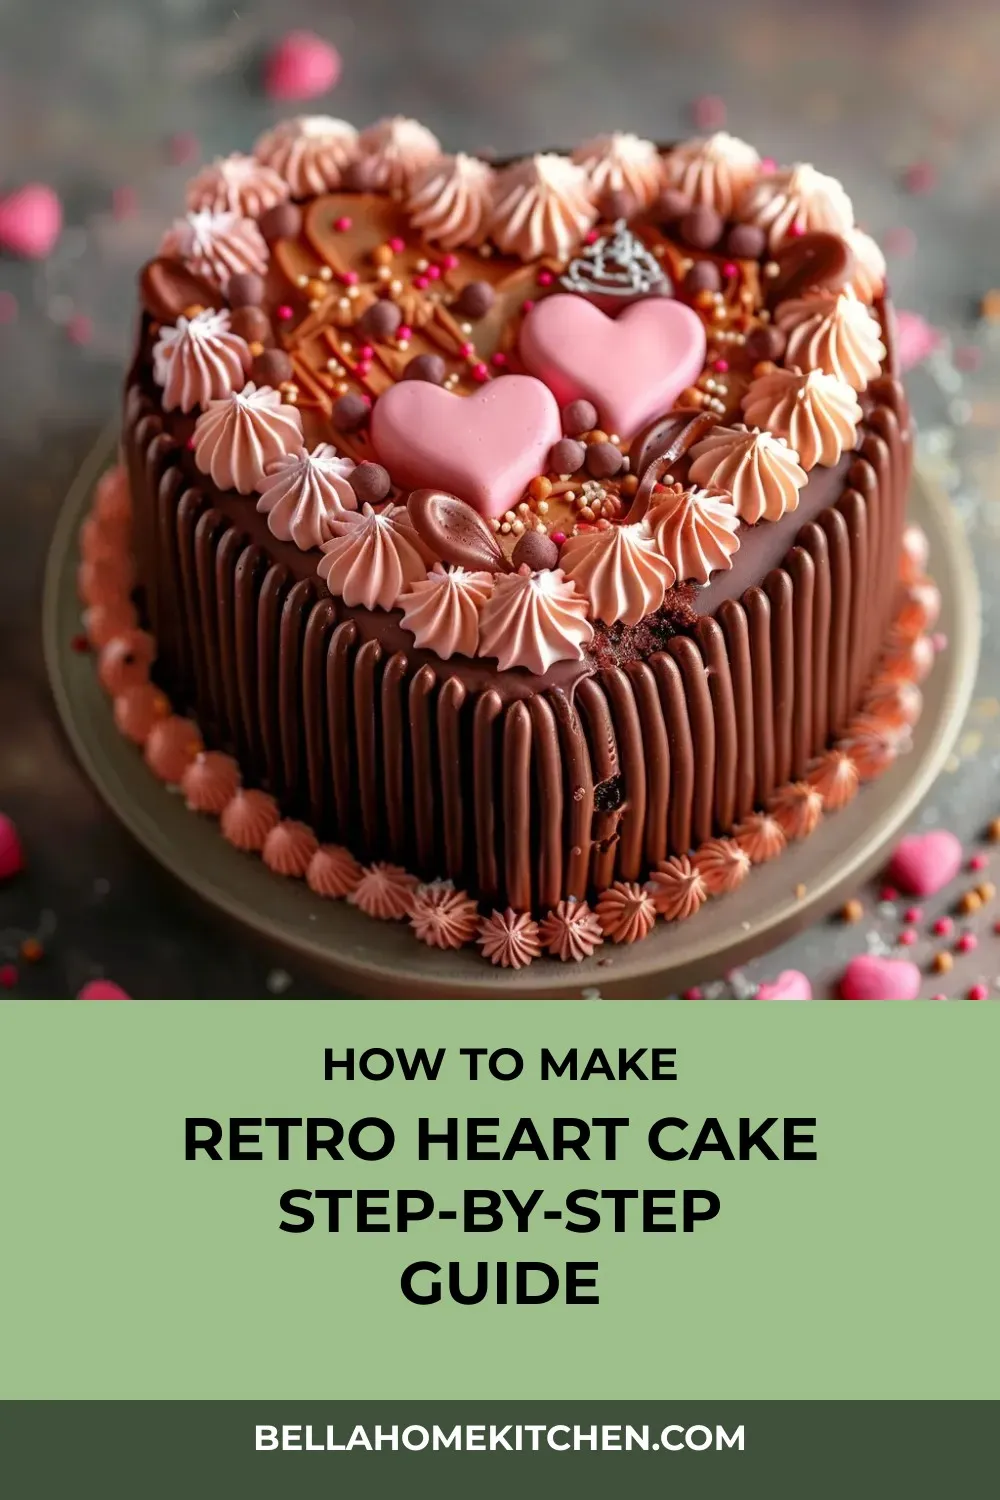
Welcome to the enchanting world of cake decorating with our Vintage Heart Cake Tutorial. In this comprehensive guide, we’ll walk you through creating a stunning heart-shaped cake using classic piping techniques and three shades of pink buttercream. Perfect for romantic occasions or any special celebration, this intermediate-level project combines cake carving skills with decorative piping work to produce a professional-looking masterpiece that will leave your guests in awe.
No need for a specialty heart-shaped pan here – just two round cake layers, some buttercream, and a touch of creativity. Whether you’re a beginner looking to hone your cake decorating skills or a seasoned baker wanting to try something new, this tutorial is for you. With make-ahead friendly components and customizable designs, you can tailor this vintage creation to suit any occasion, from birthdays to bridal showers.
Join me on a journey of whimsy and elegance as we craft this Vintage Heart Cake together. With tips on buttercream consistency, color customization, and essential tools like piping tips and a turntable, you’ll be well-equipped to bring this timeless design to life. So, roll up your sleeves, preheat your oven, and let’s turn ordinary cake layers into a work of art that will steal the spotlight at your next celebration.
Quick Benefits
- No need for a specialty heart-shaped pan
- Vintage piping techniques create stunning, professional results
- Customizable colors and designs for any occasion
- Make-ahead friendly components help manage decorating time
Why You’ll Love This Retro Heart Cake Step-by-Step Guide Recipe
- Stunning Vintage Design: The vintage piping techniques used in this recipe create professional and intricate designs on the cake that are sure to impress.
- Customizable for Any Occasion: You can easily customize the colors and designs of this cake to fit any celebration, whether it’s Valentine’s Day, a wedding, or a birthday party.
- No Special Pan Needed: You don’t need a specialty heart-shaped pan to create this beautiful heart cake, making it accessible to bakers of all skill levels.
- Impressive Centerpiece: This cake serves as an impressive centerpiece at any special celebration, eliciting gasps of awe and delight from guests.
- Make-Ahead Friendly: The components of this cake can be made ahead of time, helping to manage decorating time and reduce stress.
- Perfect for Beginners: Despite its elegant appearance, this recipe is beginner-friendly and a great way to practice and improve cake decorating skills.
- Learning Opportunity: The tutorial offers valuable tips and tricks for working with buttercream, piping techniques, and cake decorating, making it a great learning experience for aspiring bakers.
- Personal Touch: The vintage heart cake is not just a dessert but also a heartfelt creation that can evoke special moments and emotions, making it perfect for creating memorable celebrations.
Ingredients for Retro Heart Cake Step-by-Step Guide
Base Components
- 9 cups vanilla buttercream (equivalent to 3 batches)
- 2 round 8-inch cake layers (chocolate or your favorite flavor)
Coloring
- AmeriColor Deep Pink gel food color
- AmeriColor Fuchsia gel food color
Pro Tips for Retro Heart Cake Step-by-Step Guide
For creating the Vintage Heart Cake, using two round cake layers is a clever way to achieve the heart shape without needing a special pan. When piping the intricate vintage details, ensure your buttercream is at a medium consistency to maintain crisp designs. Dividing your buttercream into varying shades with gel food colors adds depth and dimension to your decorations, creating a beautiful ombré effect. Additionally, practicing piping patterns on parchment paper before decorating the cake can help you perfect your technique stress-free.
To ensure success in decorating your Vintage Heart Cake, keep extra buttercream at room temperature to remix colors if needed. Cleaning your piping tips between color changes is essential for maintaining sharp designs. Taking progress photos along the way can be a helpful tool for troubleshooting or referencing specific steps. Remember that working in a cool kitchen environment and chilling your piping bags between uses, especially in warmer weather, will help maintain the perfect buttercream consistency for successful piping.
How to Make Retro Heart Cake Step-by-Step Guide
Step 1: Step 01
To create a heart-shaped cake, cut two curved sections from the tops of round cakes and use them to complete the heart shape at the bottom. Place the cake on a cake board or drum.
Step 2: Step 02
Place the cake layers on top of each other with buttercream in between, ensuring the heart shape remains aligned. Apply a thin crumb coat to the entire cake and refrigerate for 30 minutes to set.
Step 3: Step 03
Spread a smooth layer of buttercream onto the chilled cake using a spatula and smoother. Chill the cake for 20 minutes before piping decorations.
Step 4: Step 04
Divide the buttercream into three portions and tint them to create soft romantic pink, medium rose pink, and deep dramatic fuchsia shades. Transfer each color to individual piping bags.
Step 5: Step 05
Use a 4B tip to pipe large shells in dark pink, followed by small shells in light pink using tip 32. Next, pipe double ruffle garlands in medium pink with tip 102, connecting them with piped hearts.
📌 Pin for later!
Storage Tips
After creating your elegant vintage heart cake masterpiece, proper storage is essential to maintain its freshness and design. To store the finished cake, place it in a cake carrier or under a large inverted bowl to protect it from dust and debris. It is best to store the cake at room temperature in a cool, dry place away from direct sunlight and heat sources. If your cake features perishable fillings or frostings, such as cream cheese or whipped cream, it is advisable to refrigerate it to prevent spoilage.
If you need to store the cake for an extended period, you can freeze it for later enjoyment. To freeze the vintage heart cake, ensure it is well wrapped in plastic wrap or aluminum foil to prevent freezer burn. You can also place it in an airtight container before freezing. When ready to serve, allow the cake to thaw in the refrigerator overnight before bringing it to room temperature. Proper storage will help preserve the flavors and decorative details of your vintage heart cake, ensuring it remains a stunning centerpiece for your special celebration.
Ingredient Substitutions
If you prefer a different flavor for the cake layers, feel free to use your favorite flavor instead of chocolate. Options like vanilla, red velvet, or lemon can work well with the vintage piping design. This allows you to customize the cake to suit different occasions and personal preferences.
For the buttercream colors, you can adjust the shades to match the theme of your celebration. If you don’t have the specific gel food colors mentioned, you can use regular food coloring or natural alternatives like beet juice for pink hues. Experimenting with different color combinations can add a unique twist to the vintage piping design while still achieving a stunning result.
Serving Suggestions
Serve this vintage heart cake as the centerpiece of a romantic dinner for two. Light a few candles, pour some champagne, and indulge in each delicate bite while savoring the love and effort put into creating this stunning dessert.
For a bridal shower or wedding celebration, display the vintage heart cake alongside a spread of other sweet treats like macarons, cupcakes, and petit fours. The elegant piping and romantic design will perfectly complement the decor and add a touch of whimsical charm to the dessert table, leaving guests in awe of your baking skills and attention to detail.
FAQs for Retro Heart Cake Step-by-Step Guide
Can I use a different cake flavor instead of chocolate for this vintage heart cake?
Yes, you can use any cake flavor you prefer. While chocolate provides a beautiful contrast, feel free to choose your favorite flavor to personalize this vintage heart cake.
How important is the consistency of the buttercream for the piping designs?
The buttercream consistency is crucial for achieving crisp vintage designs. It’s recommended to use medium consistency buttercream for the piping work. Too-soft buttercream can lead to droopy piping, affecting the overall look of the cake.
What should I do if my buttercream becomes too soft during piping?
If your buttercream becomes too soft during piping and starts to lose its shape, you can try chilling your piping bags between uses in a cool kitchen. Additionally, keeping extra buttercream at room temperature to mix in if needed can help maintain the right consistency.
Do I need to have experience with piping techniques to make this vintage heart cake?
While this project is considered intermediate-level due to the decorative piping work involved, beginners can also create this vintage heart cake with practice. It’s recommended to practice piping patterns on parchment paper first and to be patient with the process to achieve professional-looking results.
Conclusion
As you embark on your own Vintage Heart Cake Tutorial journey, remember that practice makes perfect. Don’t be discouraged by initial attempts – every cake provides an opportunity to refine your skills and unleash your creativity. The joy of creating a stunning centerpiece that brings smiles and admiration to those around you is truly priceless.
So gather your ingredients, prepare your piping bags, and let your imagination soar as you craft your own version of this timeless Vintage Heart Cake. Whether it’s for a birthday, anniversary, or any special occasion, your creation will undoubtedly leave a lasting impression. Embrace the process, enjoy the journey, and revel in the moment when your Vintage Heart Cake takes center stage at your next celebration. Happy decorating!
📌 Pin for later!
Retro Heart Cake Step-by-Step Guide
Create a whimsical Vintage Heart Cake with classic piping techniques and three shades of pink buttercream – a stunning centerpiece for romantic occasions.
Prep Time90 Minutes
Cook Time~ undefined
Total Time90 Minutes
CuisineAmerican Cake Decorating
Skill LevelDifficult
Servings12 Servings (1 decorated heart cake)
Ingredients
Base Components
- 9 cups vanilla buttercream (equivalent to 3 batches)
- 2 round 8-inch cake layers (chocolate or your favorite flavor)
Coloring
- AmeriColor Deep Pink gel food color
- AmeriColor Fuchsia gel food color
Instructions
-
Step 01: To create a heart-shaped cake, cut two curved sections from the tops of round cakes and use them to complete the heart shape at the bottom. Place the cake on a cake board or drum.
-
Step 02: Place the cake layers on top of each other with buttercream in between, ensuring the heart shape remains aligned. Apply a thin crumb coat to the entire cake and refrigerate for 30 minutes to set.
-
Step 03: Spread a smooth layer of buttercream onto the chilled cake using a spatula and smoother. Chill the cake for 20 minutes before piping decorations.
-
Step 04: Divide the buttercream into three portions and tint them to create soft romantic pink, medium rose pink, and deep dramatic fuchsia shades. Transfer each color to individual piping bags.
-
Step 05: Use a 4B tip to pipe large shells in dark pink, followed by small shells in light pink using tip 32. Next, pipe double ruffle garlands in medium pink with tip 102, connecting them with piped hearts.