Follow Me On Social Media!
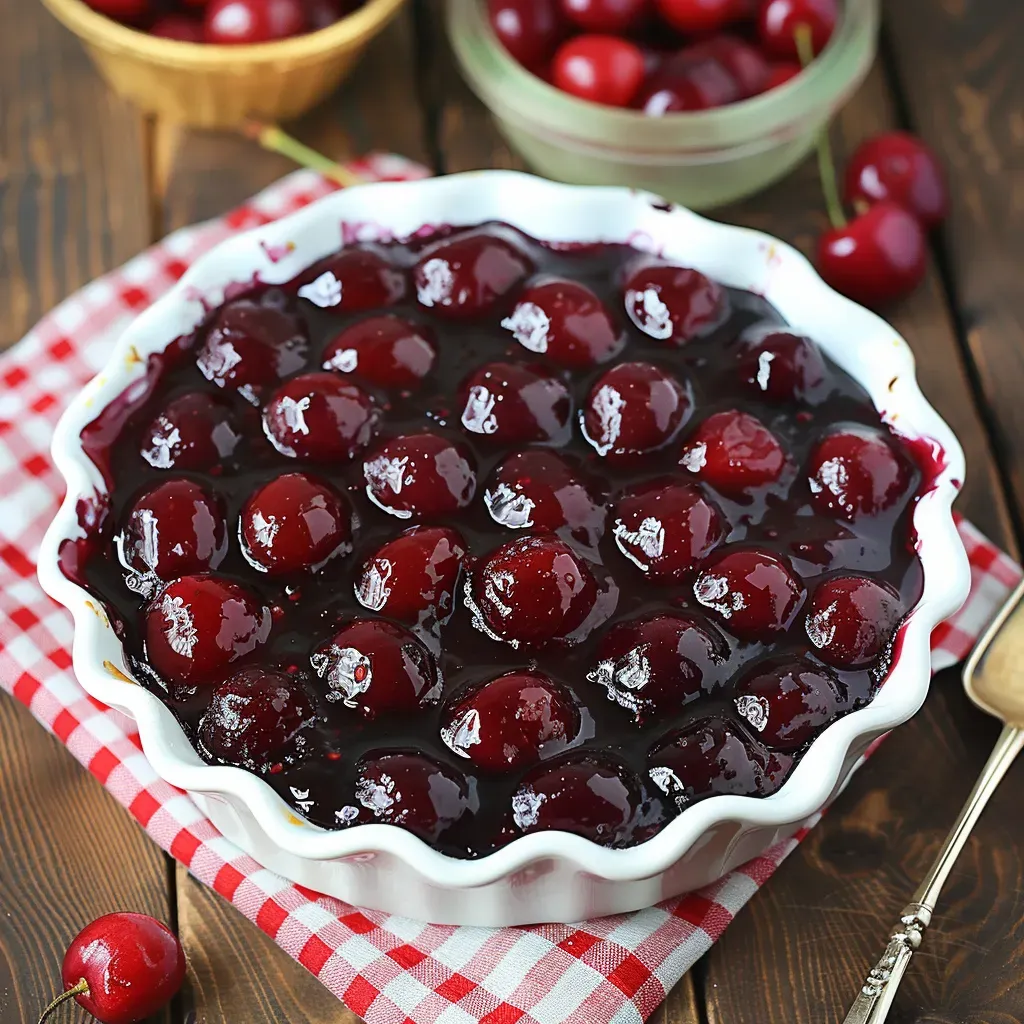
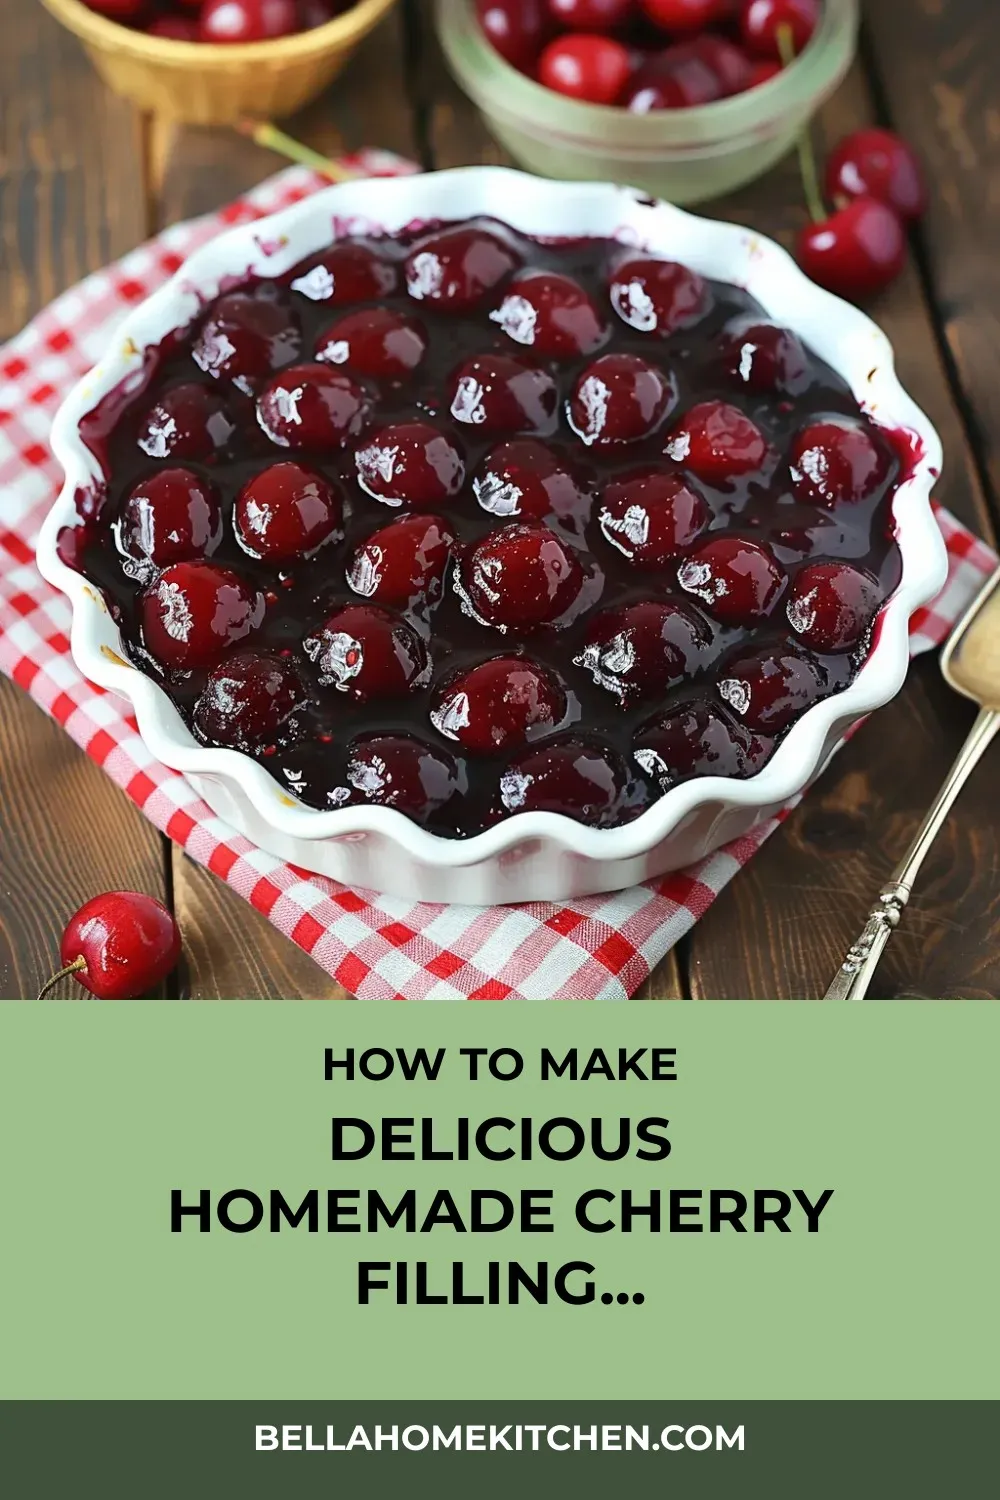
Are you ready to elevate your desserts with a burst of sweet, tangy cherry goodness? Look no further than these Homemade Cherry Filling Tips! Creating your own cherry filling from scratch is easier than you think, and the results are absolutely worth it. Picture plump cherries enveloped in a luscious ruby-red sauce, bursting with the perfect balance of sweetness and tartness. Whether you’re dreaming of a classic cherry pie, a decadent cheesecake topping, or a simple vanilla ice cream drizzle, this versatile filling has got you covered.
In just 15 minutes, you can whip up this homemade cherry pie filling using either fresh or frozen cherries, making it a year-round favorite. The bright notes of lemon juice, the subtle warmth of cinnamon, and the perfect thickness thanks to cornstarch come together to create a filling that’s not only delicious but also customizable to suit your preferences. So, roll up your sleeves, grab those cherries, and get ready to master this recipe that will have your friends and family begging for more. Get ready to impress with your culinary skills and say goodbye to store-bought versions forever!
Quick Benefits
- Ready in just 15 minutes
- Versatile for multiple desserts beyond pie
- Contains significantly less sugar than store-bought versions
- Perfect for canning and preserving summer cherries for year-round use
Why You’ll Love This Delicious Homemade Cherry Filling Recipe Recipe
- Ready in just 15 minutes: Quick and easy to whip up for a last-minute dessert or baking session.
- Uses fresh or frozen cherries year-round: Enjoy the taste of cherries in any season.
- Perfectly balanced sweetness with bright lemon notes: Delightful combination of sweet and tart flavors.
- Versatile for multiple desserts beyond pie: Ideal for pies, tarts, cheesecake toppings, and more.
- Customizable thickness to suit your preferences: Adjust the consistency to your liking.
- Perfect for canning and preserving summer cherries for year-round use: Enjoy homemade cherry filling even in the colder months.
- Contains significantly less sugar than store-bought versions: A healthier alternative with all the flavor.
- Works with both sweet and tart cherry varieties: Versatile enough to accommodate different cherry types.
- The cinnamon adds depth without overpowering: A secret ingredient that elevates the flavor profile.
- Once you try this recipe, you’ll never go back to canned fillings: Homemade goodness that’s worth the effort.
Ingredients for Delicious Homemade Cherry Filling Recipe
Cherry Pie Filling
- 2 tablespoons lemon juice
- ⅛ teaspoon cinnamon (optional)
- ¼ cup (28 g) cornstarch
- 1 cup (198 g) granulated sugar
- 4 cups (616 g) pitted cherries, if frozen, thawed
- Pinch of salt
For Pie Assembly
- 2 prepared pie crusts, top and bottom
- 1 tablespoon (12 g) granulated sugar (optional)
Pro Tips for Delicious Homemade Cherry Filling Recipe
For the best results, always mix the cornstarch thoroughly with the cherries before heating to prevent lumps and ensure a smooth consistency in your cherry filling. If the mixture thickens too much during cooking, simply adjust the texture by adding a little water until you reach your preferred thickness.
Experiment with different cherry varieties to suit your taste preferences. While tart cherries like Montmorency are classic for pies, sweet cherries like Bing can also work wonderfully. Adjust the sugar and lemon juice levels accordingly based on the natural sweetness of the cherries you choose for a perfectly balanced filling.
To elevate the flavor profile of your cherry filling, consider adding a touch of almond extract for a traditional cherry pie taste or a splash of kirsch or amaretto for a boozy adult twist. These small additions can bring out the natural cherry flavors and add a delightful depth to your homemade creation.
How to Make Delicious Homemade Cherry Filling Recipe
Step 1: Step 01
Combine cherries, sugar, lemon juice, cornstarch, salt, and cinnamon in a saucepan over medium heat. Add water if needed for desired consistency. Simmer on medium-low heat for 8-10 minutes until thickened, stirring occasionally. Add water and reduce heat if mixture sticks. Cool slightly before serving.
Step 2: Step 02
Preheat oven to 375℉ (190℃). Line pie pan with bottom crust. Fill with cherry pie filling, cover with top crust, seal edges, cut a slit in the center, and sprinkle with 1 tablespoon of sugar if desired before baking.
Step 3: Step 03
Bake in a preheated oven for 45-50 minutes until the crust turns golden brown. Allow to cool before serving.
📌 Pin for later!
Storage Tips
Once you have made this delectable homemade cherry filling, storing it properly will ensure it stays fresh for future use. If you have leftovers, the filling can be stored in an airtight container in the refrigerator for up to 5 days. For longer storage, consider freezing the cherry filling for up to 3 months. Remember to thaw it overnight in the refrigerator before using it in your next culinary creation. To preserve the cherry filling beyond the season, you can also opt for water bath canning in sterilized jars. By processing filled jars for 15 minutes in a boiling water bath, you can enjoy your homemade cherry filling even during the colder months.
This versatile cherry filling can be used in various desserts beyond pies. Experiment with it by incorporating almond extract for a traditional cherry pie flavor or adding a splash of kirsch or amaretto for a boozy twist. For a visually appealing pie, create a lattice top crust to showcase the vibrant red filling and allow excess moisture to evaporate during baking. Whether you enjoy it as a topping for cheesecake, stirred into yogurt, or layered in parfaits, mastering this cherry filling recipe opens up a world of culinary possibilities that go far beyond the traditional pie.
Ingredient Substitutions
If fresh cherries are not available, you can easily substitute them with frozen cherries for this recipe. Just ensure the frozen cherries are thawed completely and drained of excess liquid before using them in the filling.
If you prefer a different thickening agent than cornstarch, you can substitute it with tapioca starch or arrowroot powder in equal amounts. These alternatives will also help thicken the cherry filling effectively.
For a flavor variation, consider adding a touch of almond extract for a classic cherry pie taste or incorporating a splash of kirsch or amaretto for a boozy twist. These additions can enhance the overall flavor profile of the filling and give it a unique touch.
Serving Suggestions
Create a stunning dessert spread by incorporating this homemade cherry filling into various treats. For a visually appealing option, assemble mini cherry hand pies using the prepared pie crusts. Cut the crusts into small rounds, add a dollop of cherry filling in the center, fold over, and crimp the edges for a decorative touch. These bite-sized delights are perfect for parties or as a sweet snack on the go. Alternatively, elevate your breakfast or brunch by serving warm cherry filling alongside fluffy pancakes or waffles. The vibrant colors and burst of fruity flavor will take your morning meal to the next level, pleasing both kids and adults alike!
To add a gourmet twist to your desserts, consider infusing the cherry filling with almond extract for a traditional pie taste or a splash of kirsch or amaretto for a sophisticated kick. These flavor enhancements will elevate the overall taste profile and offer a unique culinary experience. Additionally, try incorporating the cherry filling into unexpected recipes like thumbprint cookies, cake fillings, or as a decadent sauce for chocolate desserts. The versatility of this filling allows you to experiment with a wide range of sweet treats, showcasing the rich and vibrant essence of cherries in every bite!
FAQs for Delicious Homemade Cherry Filling Recipe
Can I use frozen cherries for this recipe?
Yes! Frozen cherries work perfectly for this recipe. Just make sure to thaw them beforehand and drain any excess liquid.
What does the cornstarch do in the filling?
Cornstarch is used to thicken the filling. Ensure you stir well while it simmers to activate the cornstarch. If it becomes too thick, you can add a bit of water to adjust the consistency.
Can I customize the flavor of the filling?
Absolutely! You can add a pinch of cinnamon or even a splash of vanilla extract for extra flavor. Adjust the sugar or lemon juice to balance sweetness and tanginess to your liking.
How can I use this cherry filling besides in a pie?
Use it as a filling for pies, tarts, or turnovers. You can also spoon it over ice cream, pancakes, or cheesecake for a delicious topping.
Conclusion
Homemade Cherry Filling Tips are not just a recipe; they are a gateway to creating unforgettable desserts that will have your loved ones asking for more. Whether you choose to use fresh cherries during the summer months or opt for the convenience of frozen cherries, this filling is sure to elevate your baking game year-round.
Mastering the art of homemade cherry filling opens up a world of possibilities. From classic cherry pies to innovative dessert creations, the versatility of this luscious ruby-red filling knows no bounds. With a few simple ingredients and a little bit of kitchen magic, you can transform ordinary cherries into extraordinary treats that will leave a lasting impression on your family and friends.
So don’t hesitate to experiment, get creative, and let your culinary imagination run wild with Homemade Cherry Filling Tips. Whether you’re a seasoned baker or a novice in the kitchen, this recipe is sure to become a staple in your dessert repertoire. Embrace the joy of baking from scratch, savor the sweet rewards, and create memories that will last a lifetime with every delicious bite of your homemade cherry-filled creations.
📌 Pin for later!
Delicious Homemade Cherry Filling Recipe
Homemade cherry filling: a rich and luscious ruby-red treasure perfect for pies, tarts, or even spooned over vanilla ice cream.
Prep Time20 Minutes
Cook Time50 Minutes
Total Time70 Minutes
CuisineAmerican
Skill LevelIntermediate
Servings1 pie
Ingredients
Cherry Pie Filling
- 2 tablespoons lemon juice
- ⅛ teaspoon cinnamon (optional)
- ¼ cup (28 g) cornstarch
- 1 cup (198 g) granulated sugar
- 4 cups (616 g) pitted cherries, if frozen, thawed
- Pinch of salt
For Pie Assembly
- 2 prepared pie crusts, top and bottom
- 1 tablespoon (12 g) granulated sugar (optional)
Instructions
-
Step 01: Combine cherries, sugar, lemon juice, cornstarch, salt, and cinnamon in a saucepan over medium heat. Add water if needed for desired consistency. Simmer on medium-low heat for 8-10 minutes until thickened, stirring occasionally. Add water and reduce heat if mixture sticks. Cool slightly before serving.
-
Step 02: Preheat oven to 375℉ (190℃). Line pie pan with bottom crust. Fill with cherry pie filling, cover with top crust, seal edges, cut a slit in the center, and sprinkle with 1 tablespoon of sugar if desired before baking.
-
Step 03: Bake in a preheated oven for 45-50 minutes until the crust turns golden brown. Allow to cool before serving.